Navigate the Unity RM User Interface
This section covers the general navigation of the Unity RM user interface. Click the categories below to view additional information about navigating Unity RM.
 Search
You can search for addresses, monitoring sites, work orders, or GIS assets, or work orders.
- Click the arrow to choose the type of search.
- Enter the address, site, work order, or GIS assets in the search field.
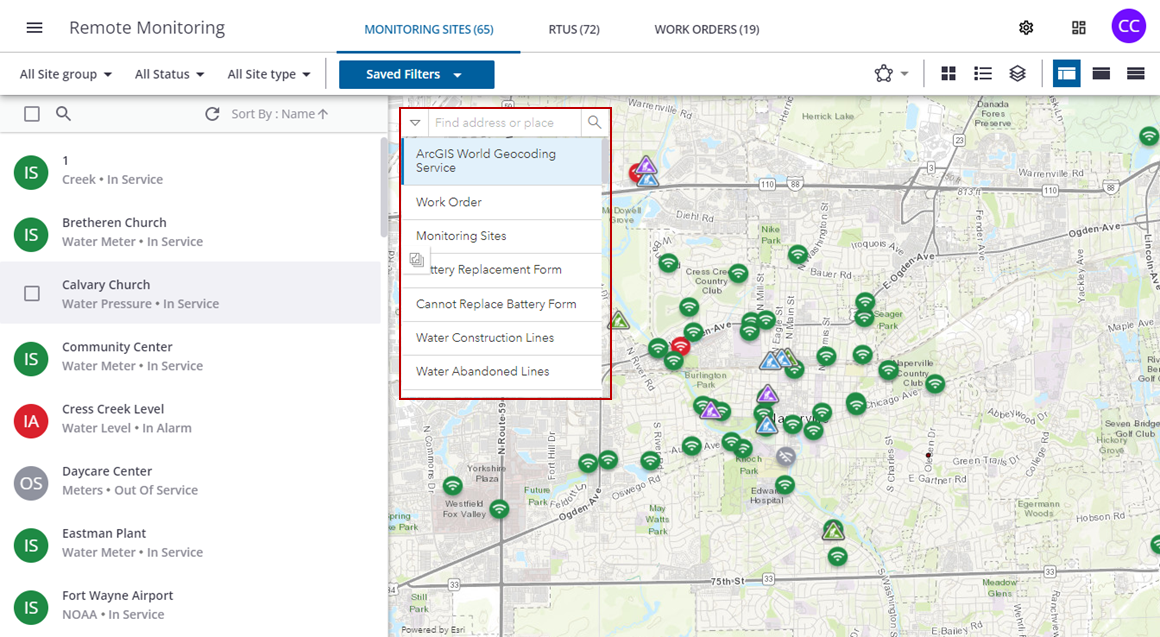
For additional information on searching for monitoring sites, RTUs, or work orders, see Identify and Find Monitoring Sites, Identify and Find RTUs, or Identify and Find Work Orders.
Selection Tools
- Click the Draw Polygon or Draw Line tool to select assets and sites on the map.
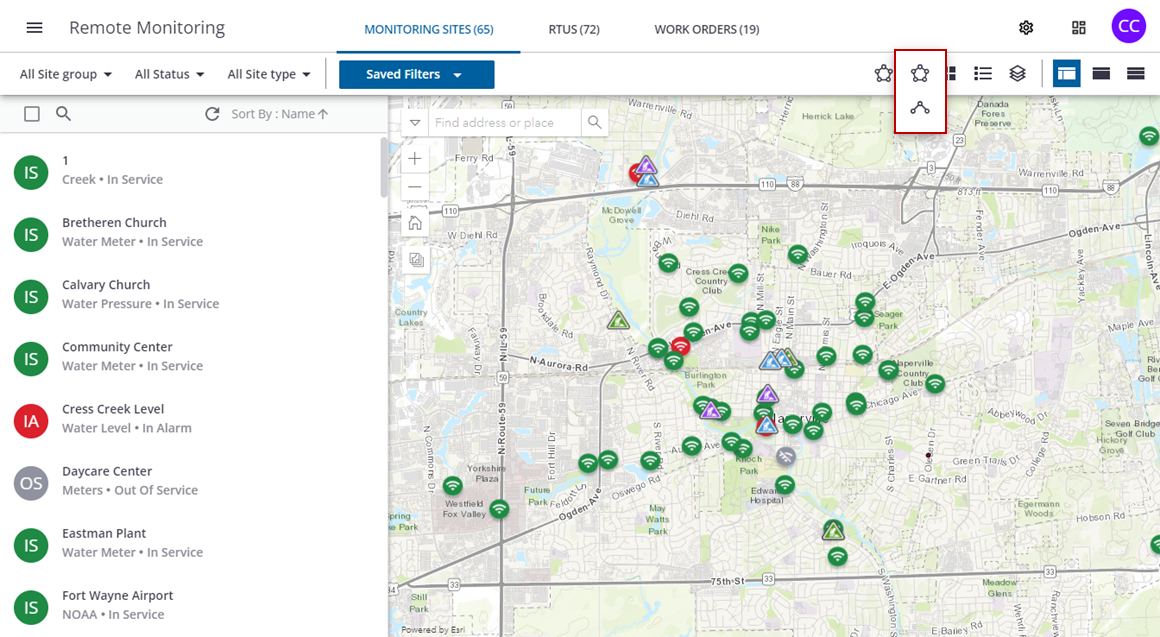
- Select the Draw Polygon tool and click points on the map to draw around the sites or assets you want to select. Double-click to complete the polygon. You can also click and drag to form a shape and then double-click to complete the polygon.
- Click the point you started with to close the selection.
The results panel shows a list of all sites and assets within the selection. Note that any other assets, work orders, alarms, etc. that are under the polygon will also be shown in the results panel, grouped by category.
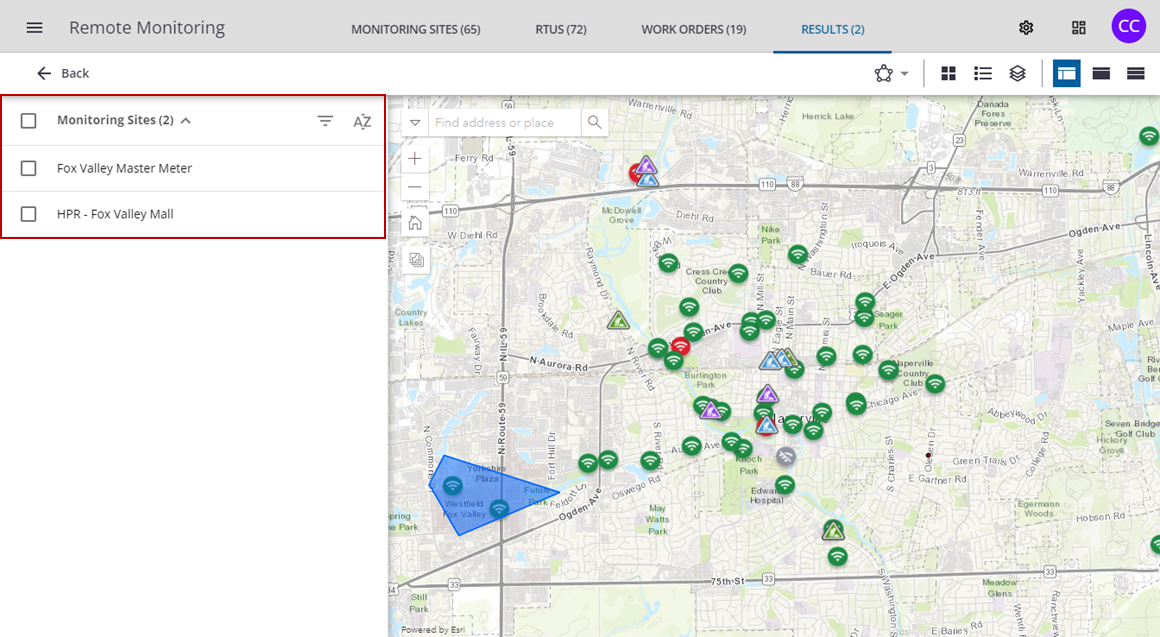
- Select the Draw Line tool and click on the map to trace a line.
- Double-click the last point to finish the line. Any sites or assets that fall on the line are selected.
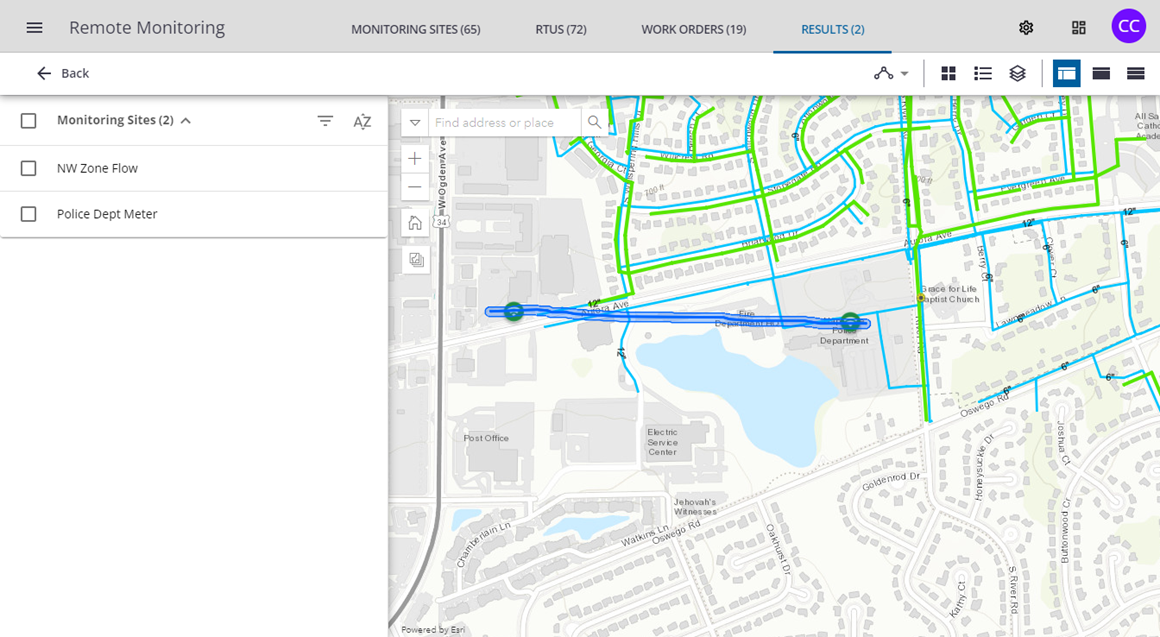
The results panel shows a list of all sites and assets that fall on the line.
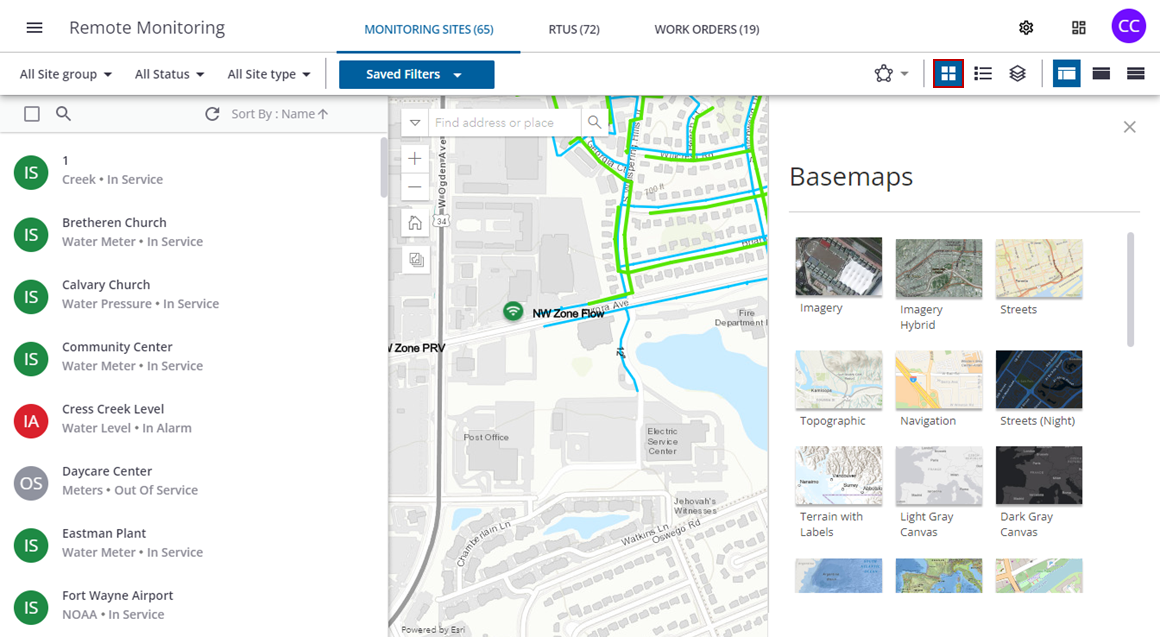
Basemaps
Basemaps are the background maps that appear below the feature layers displaying the network assets, work orders, and sites.
- Click the Basemaps icon to select a basemap.
Legend
- Click the Legend icon to open the legend.
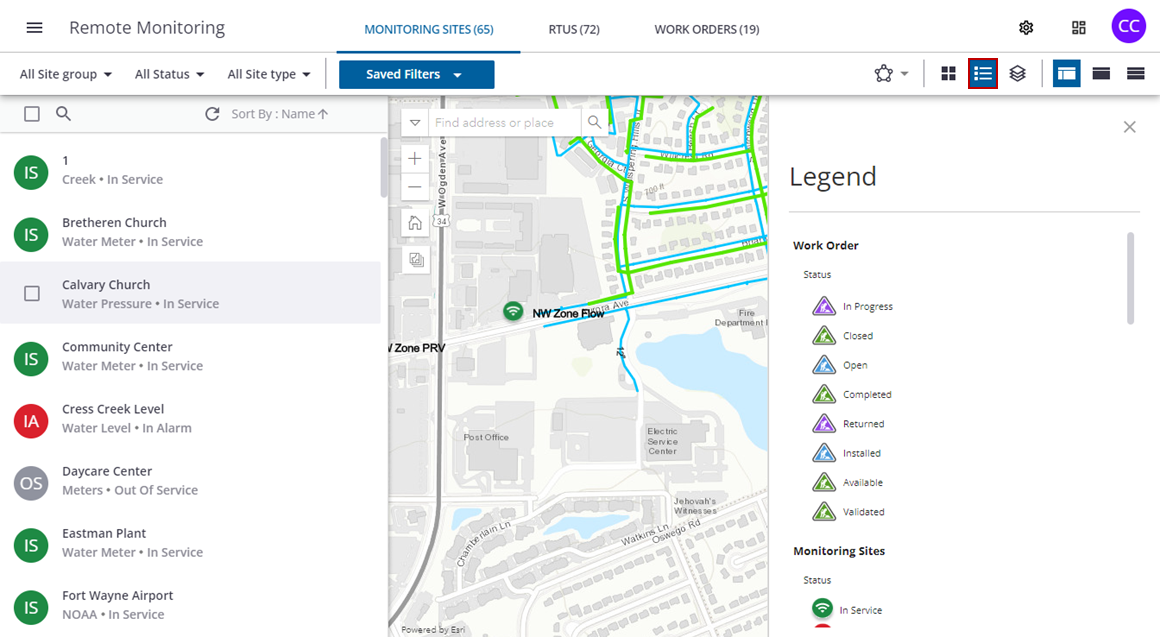
Table of Contents
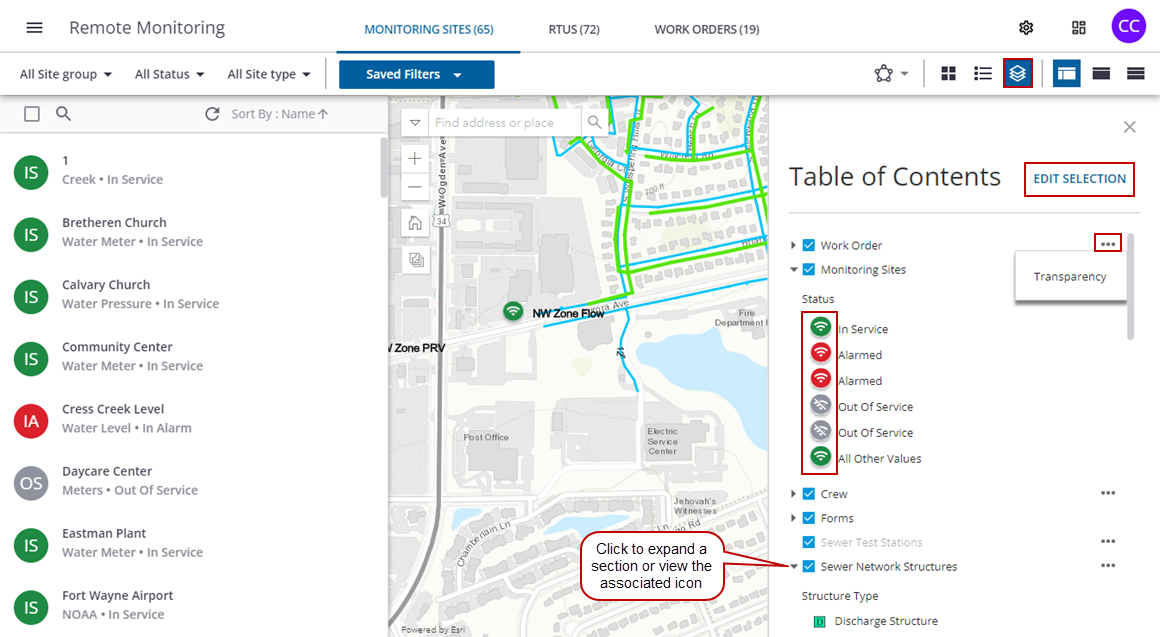
The table of contents allows the user to control the visibility and other characteristics of the features configured for the app.
- Click the Table of Contents icon to open the table of contents.
- Click the arrows to expand the sections or see the associated icon.
- Click the check box to select or deselect a layer.
- Click the more icon to the right of each layer to change the transparency of the icon on the map.
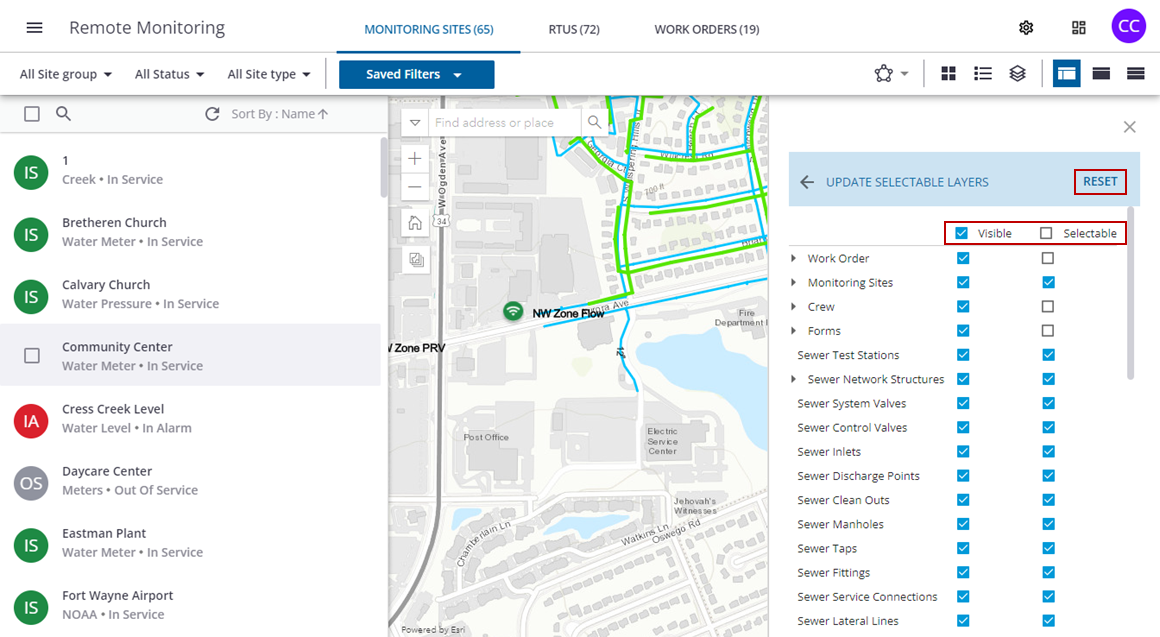
- Click Edit Selection to update the selectable layers.
- Click the top Visible and Selectable check boxes to select or deselect all layers at once.
- Click individual check boxes in the list to update the layers.
- Click Reset to revert the selections back to the default setting.
 TIP: Zooming in on the map will make layers visible on the Table of Contents list.
Views
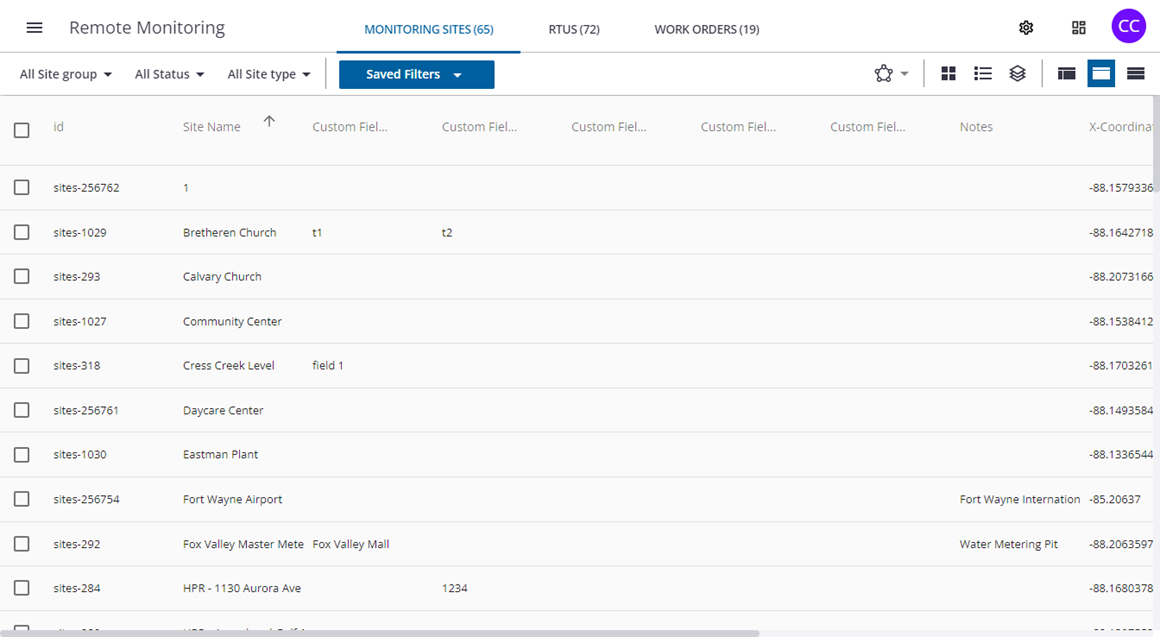
- Click the Table View icon to view the list in table format.
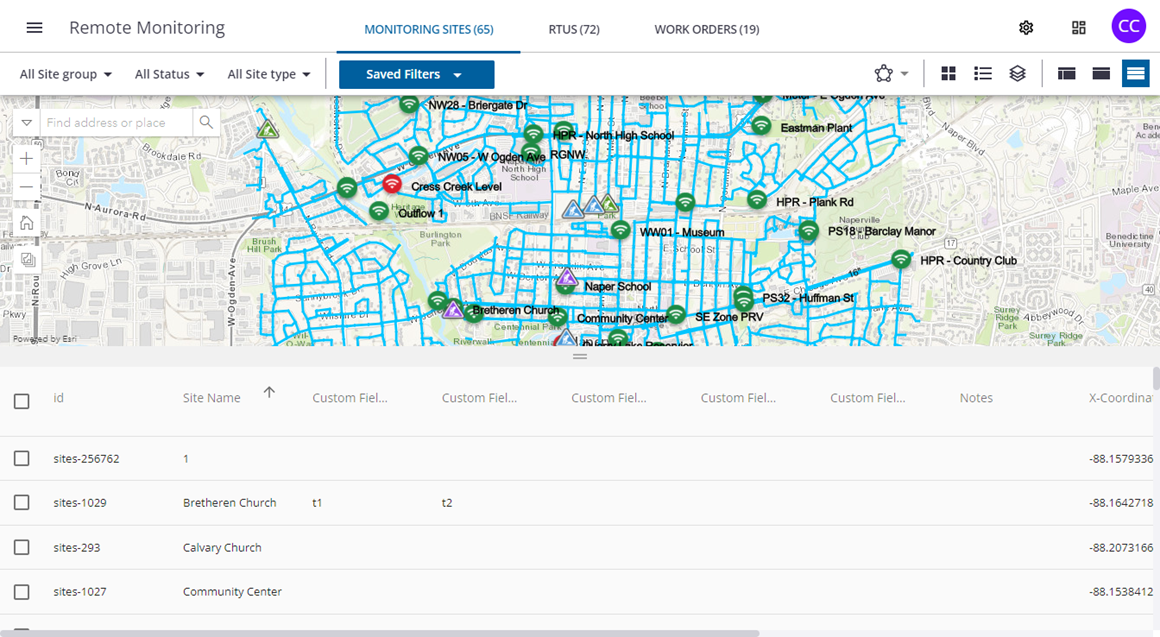
- Click the Split View icon to view the list in split view.
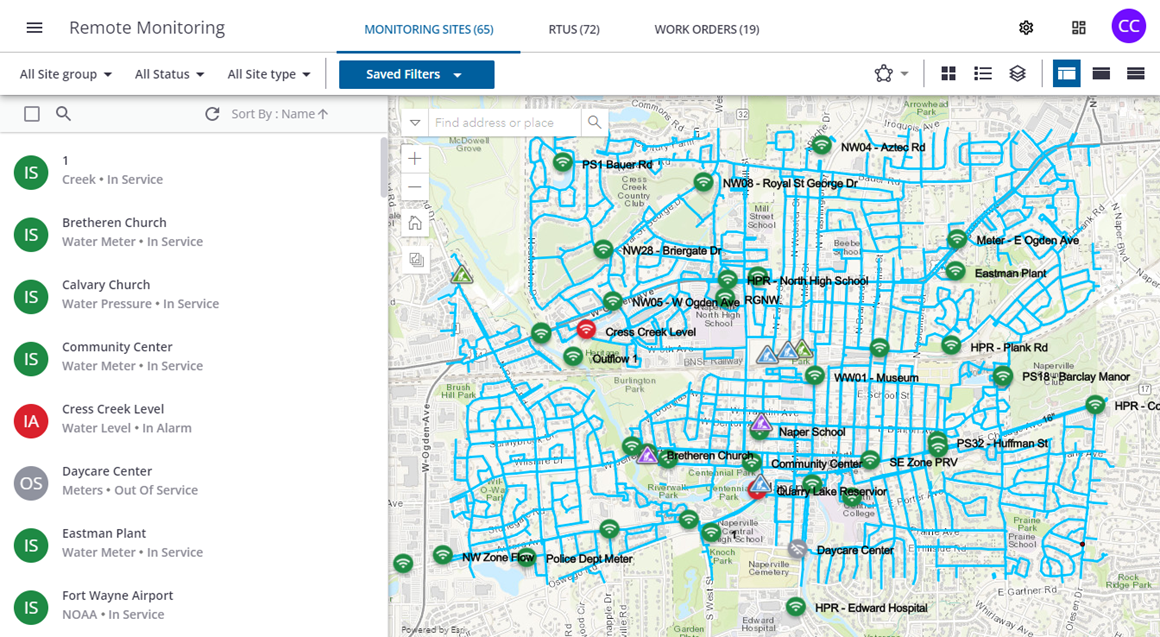
- Click the List View icon to return to the default list view.
Breadcrumb Navigation
When viewing a report or measurement on a monitoring site, a breadcrumb menu appears telling you where you are within Unity RM.

- Click Remote Monitoring to return to the Unity RM page.