The Map screen
The features of this screen are described below.

| Button | Description |
|---|---|

|
This button allows you to switch back to the map view. |
|
|
This button allows you to view a list of open work orders. |
|
|
This button allows you to view a list of closed work orders. |

|
This button takes you to a screen where you can define the parameters of an export of data stored in Trimble Unity Web, that can ultimately be loaded into a corporate system. |

|
This button displays an Executive Dashboard-style view, usually of work order progress. |

|
This button displays the Reports screen. The reports that are displayed are configured for the currently active app or workflow. Each report has a name and description, and reports have parameters that can be specified before running them. For more information, see Reports, page 1. |
|
|
These buttons provide the options for selection of assets for which you want to create a work order.
(You have the option of refining your list of assets before you create the work order). |
|
|
This field allows you to search the map to identify assets where the ID or name includes the matching text. |
|
|
This field allows you to search the map to identify assets where the ID or name includes the matching text. |
|
|
This is the work order icon, the map shows all work orders. The color of the icon denotes the current status of the work order. |
|
|
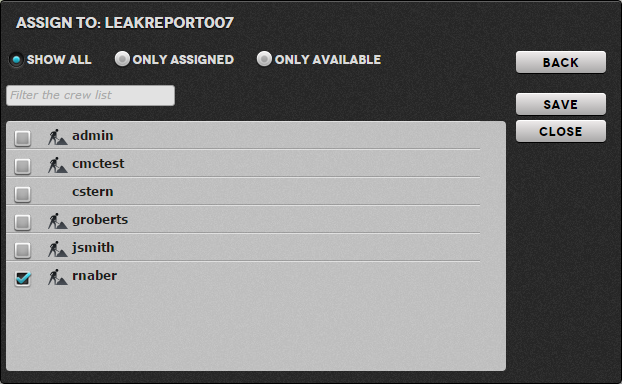
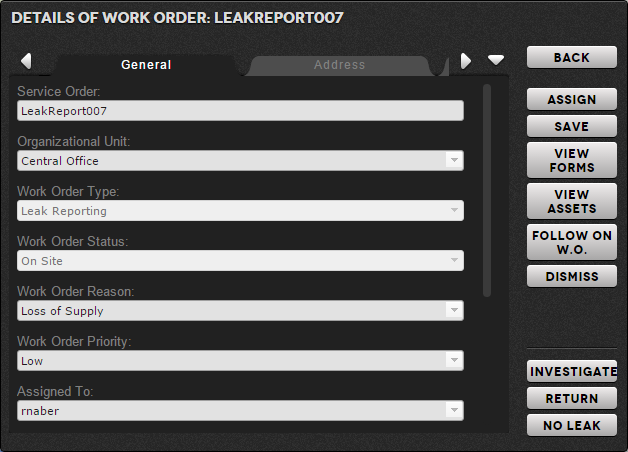
When you click on a work order in the map a 'callout' is displayed for each workorder under the point where you clicked on the map. In this example, there is a work order and an asset (water mains pipe). A summary of the object details is shown in the callout. If you click on the callout, you will get the full details of the crew and work order:
|
|
|
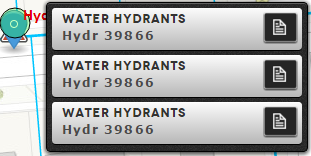
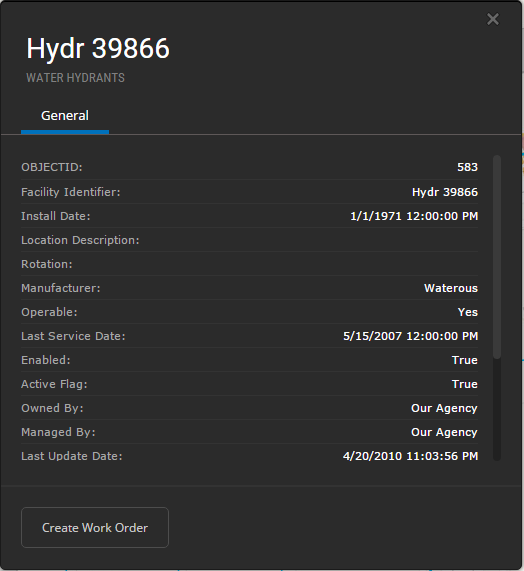
When you click on an asset in the map a 'callout' is displayed for each asset under the point where you clicked on the map. In this example, there are three assets (water hydrants). A summary of the object details is shown in the callout. If you click on the callout, you will get the full details of the asset.
|
|
|
Assets are represented by symbols on the map. You can click on them to view the asset details. You can also create a work order directly after selecting one. Whether an asset is visible on the map or not is determined by the zoom level of the map, and the asset layers selected to view using the map filter on the right-hand side of the screen. |
|
|
This device allows you select the zoom level of the map. You can control the zoom level by holding down the 'shift' button and dragging the mouse to form a rectangle. Releasing the mouse zooms the map to the extent defined by the rectangle. |
|
|
This button allows you to log out of Trimble Unity Web. |
|
|
This button allows you to return to the App Chooser screen to filter by work order type. |
|
|
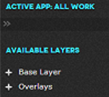
The Map Filter (sometimes called the contents list in ESRI) provides the means to switch asset and other layers on/off, assuming the layer is configured to be visible at the current zoom level. The device also provides a key to the symbology on the map. At the top of this panel there is also an indication of the current active App (including All Work). |
|
|
Located at the bottom right corner of the screen, click Legend to show you what the symbols on the map mean. |