Building forms
-
From the Form Manager screen, click New Form. The New Form screen appears:
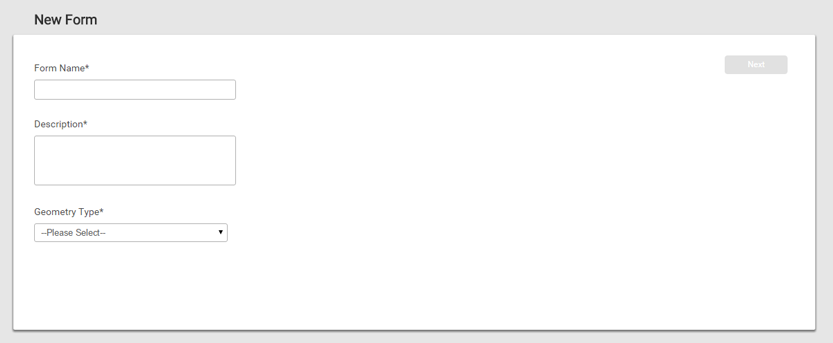
- Enter a name for, and a description of, the form.
-
Select the geometry type for the form; either a point, a polygon, or a polyline.
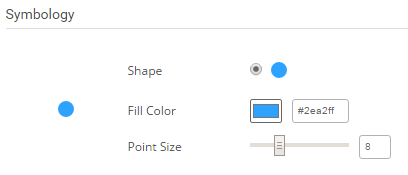
If you have selected Line or Polygon in the Geometry Type field, a predefined symbology is used.
If you have selected Point in the Geometry Type field, the Symbology field appears:
-
Select the shape, color, and point size of the symbol that will appear on the map.
-
Click Next. The Fields pane appears:
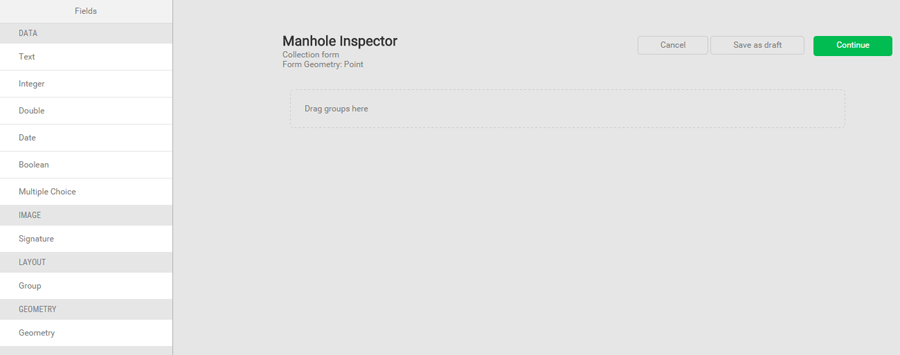
This is where you set up the information on the form that the field crews need to collect. You can add text fields, date field, numbers field, multiple choice fields, a signature field, and a geometry field. You can group the fields so related information is grouped together. For information on the types of fields you can add, see Field Types.
-
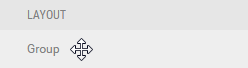
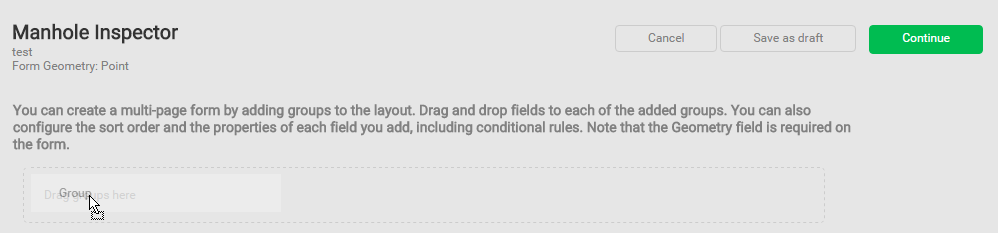
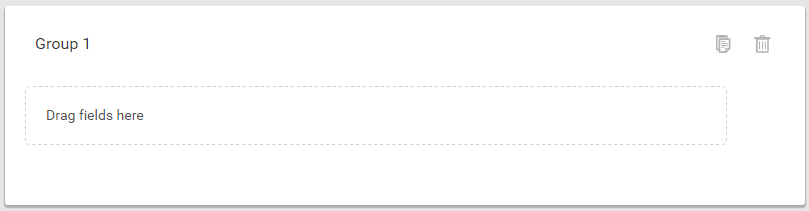
From the LAYOUT area on the Fields pane, click Group.
-
Drag-and-drop the Group item to the appropriate position on the form:
-
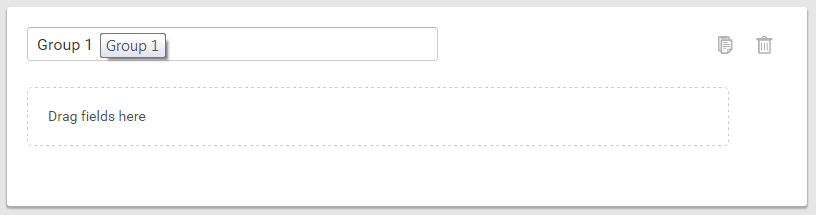
Edit the name of the group, hover over the title of the group (in this example "Group 1") and then click in the title area:
-
Enter the new group title:
-
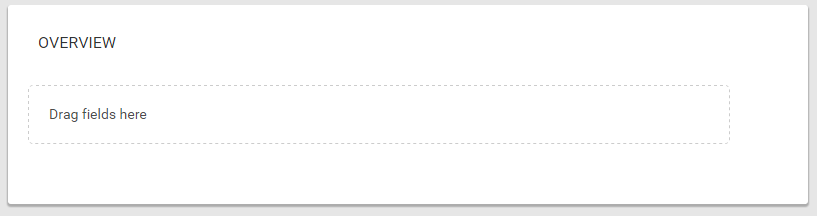
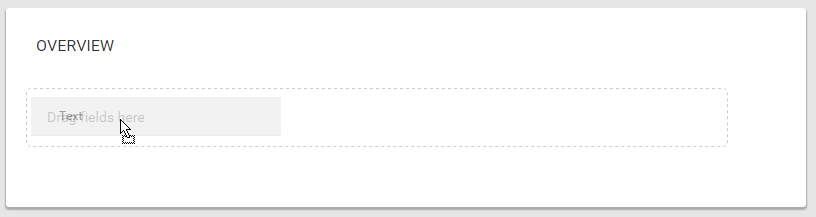
Add a field to the form. To do this, drag-and-drop the field from the Fields pane on the left to the form area on the right:
-
Complete the properties for the field:
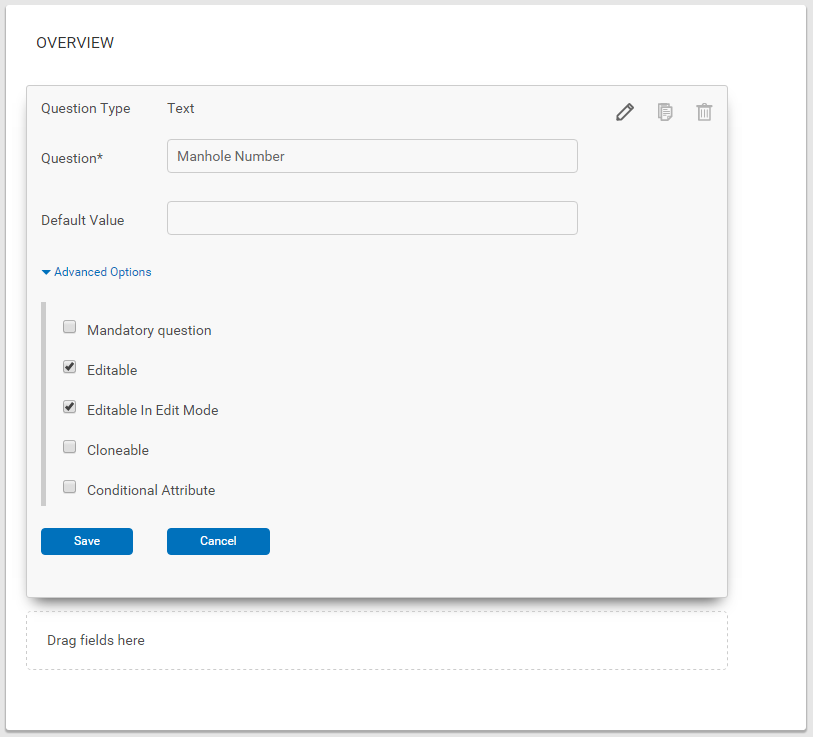
-
Each field type has an Advanced Options section. The options in this section vary depending on the field type:
Field type Example Mandatory Indicates a required field. Editable The field crew can enter or change the information in this field. Editable in Edit Mode The field can be changed only when in Edit mode. Cloneable If field crews collect multiple forms on the same type of asset (e.g., mapping assets), then all fields that are marked as Cloneable can be copied from the last collected form. The field crew will be given the option to copy the form or discard. Conditional Attribute Used when a field needs to be shown or hidden based on the answer of the previous question. -
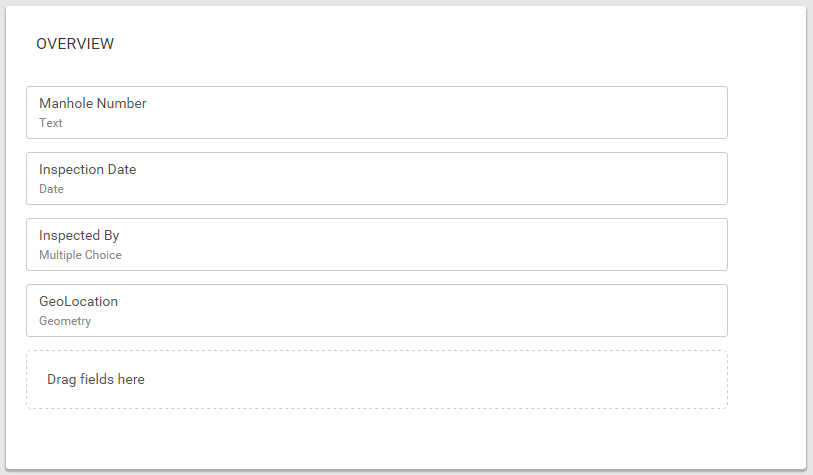
Keep dragging and dropping fields into groups and setting the properties of each field until you are satisfied that the form is complete:
Note
The Geometry field on the form is required. The Geometry field can be placed anywhere on the form. For asset-based forms such as asset inspections, if the field crew does not capture the geometry, then by default, the form will take the location or geometry of the asset.
Editing groups
Hover over the title of the group (in this example, "Group 1"). Edit icons appear:
To copy a group of fields, tap  .
.
To delete a group of fields, tap  .
.
Editing fields
To edit a field, hover over the title of the group (in this example, "Location"). Edit icons appear.

To change a field, tap  .
.
To copy a field, tap .
To delete a field, tap .
To move a field into another group, drag and drop it.
Click Save as draft or click Continue. You are returned to the Form Manager screen.