Create and Import Forms
Forms can be created, managed, and imported from map and feature services schema configured in the GIS and Asset Configuration page.
|
|
 PREREQUISITES:
 NOTE: See Form Manager Fields for a list of field descriptions.
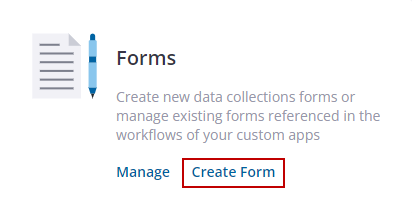
- Open the App Builder to access the Forms panel.
- Click Create Form in the Forms panel.
- Alternatively, click Manage in the Forms panel, then click Create Form in the upper-right corner of the page.
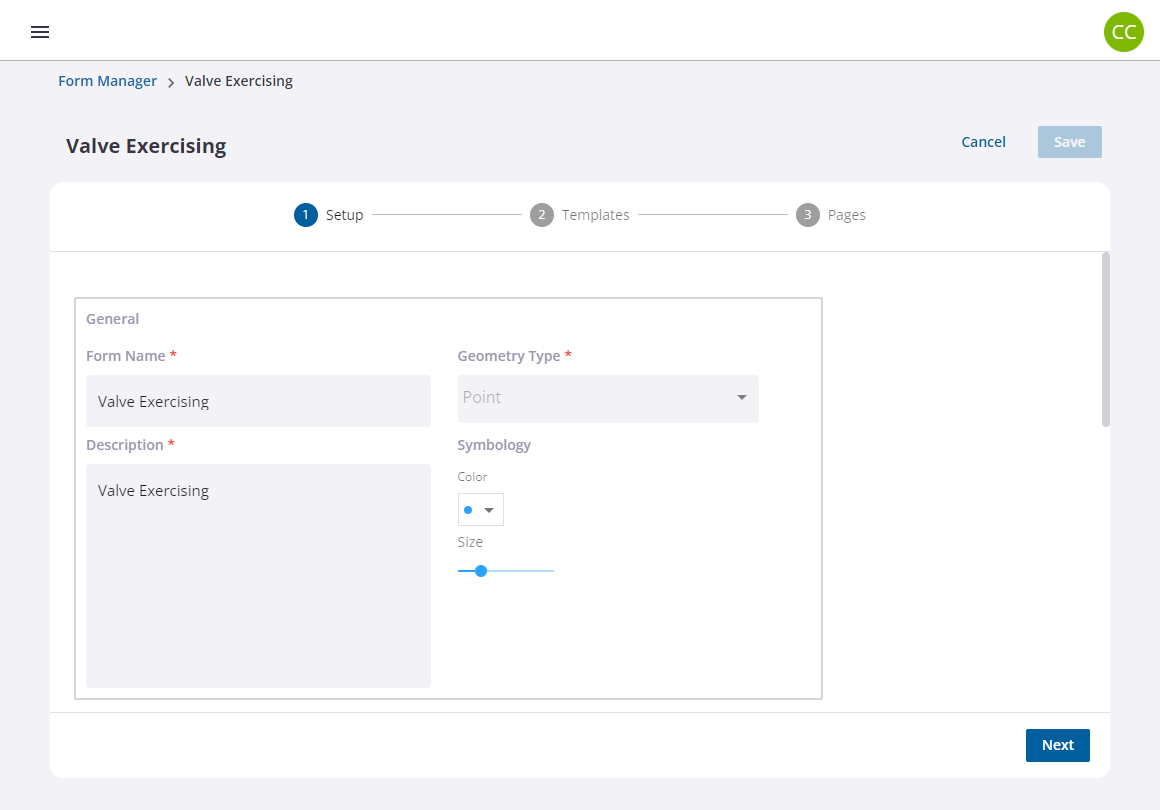
Step 1 - Setup
The first step in configuring a form is the Setup section.
- Enter a Form Name.
- Enter a Description of the form.
- Select a Geometry Type from the drop-down list.
- Select a Color and Size for the Symbology.
- If required, enable Scoring to calculate a score based off of preset values. When enabled, select an algorithm from the drop-down list.
- If required, enable Auto Generate Report to generate a PDF report that includes all the form data when the work order is completed.
- Configure the GNSS Collection Settings.
- Accuracy Tolerance: Enter the threshold setting, in meters, in the field.
- Allow Forced Collection: Select the check box to allow a forced collection of data if the threshold isn't met.
- Tilt Tolerance: Enter the threshold setting, in degrees, in the field.
- Allow Forced Collection: Select the check box to allow a forced collection of data if the threshold isn't met.
NOTE: The tilt tolerance setting is only used when connected to Trimble R10 and R12 series receivers. Trimble Unity does not support using the R12i to capture tilt compensated positions in this release. The IMU must be disabled.

- Enable Connect to GIS Assets to associate the form with a GIS Service and GIS Layer from their respective drop-down lists. This will allow you to import schema from the feature service into the form design as well as map form values to the GIS feature attributes. If Connect to GIS Assets is enabled, an additional configuration section called GIS Field Mapping is available.
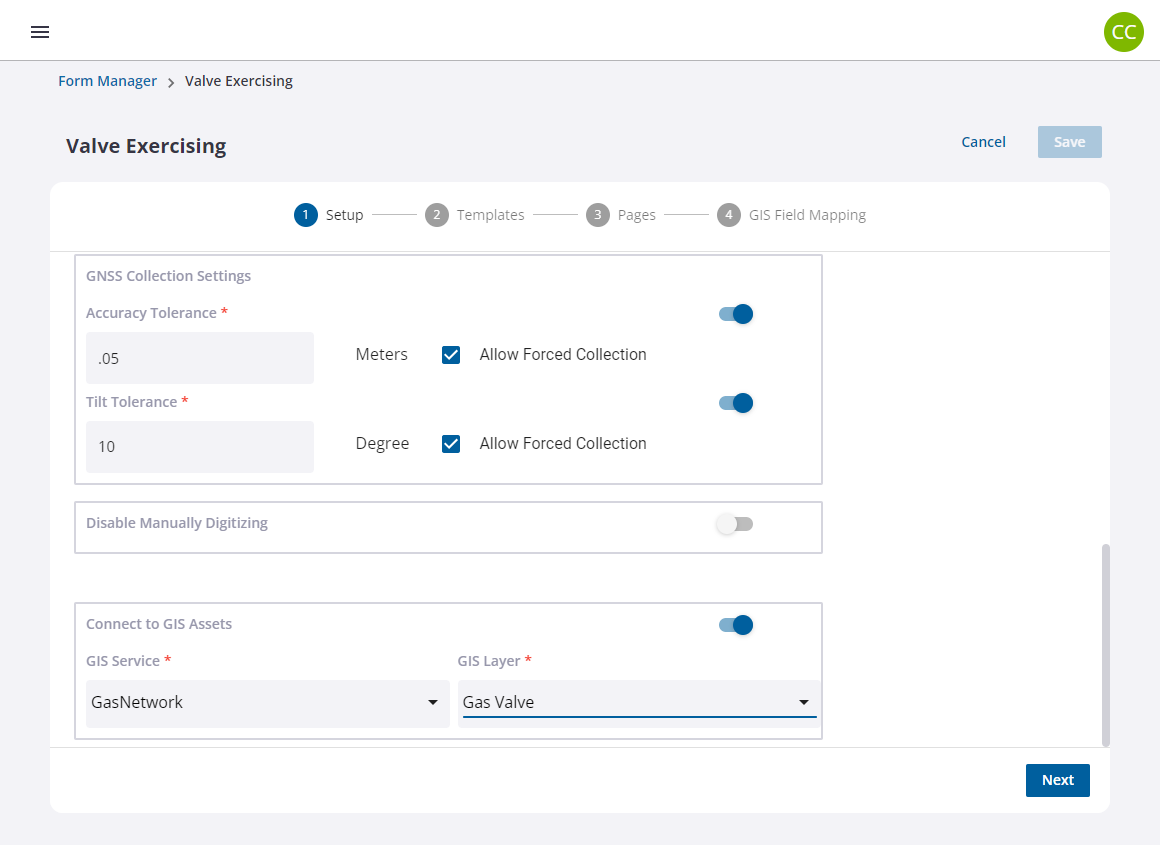
- Click Next.
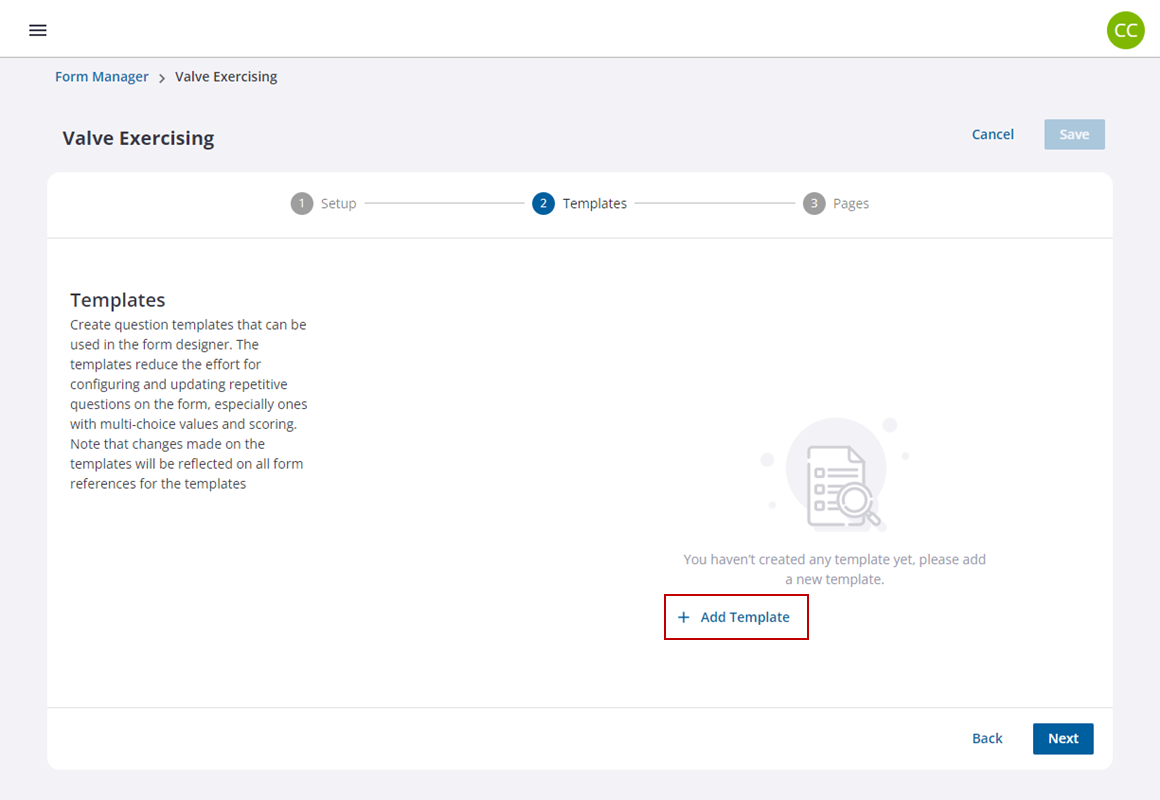
Step 2 - Templates
The second step in configuring a form is to add templates. Templates can be created to help reduce the effort for configuring and updating repetitive questions on the form, especially ones with multiple-choice values and scoring.
NOTE: Changes made on the templates will be reflected on all form references for the templates.
- Click Add Template.
- Enter a name for the template.
- Click and drag any Standard Fields to the template.
- In the Edit tab, make any edits to the selected field added to the template.
- Select the check box for any of the Advanced Options you want for the template.
- Add any other fields you want in the template.
- Click Save in the Edit tab to save your changes to the question type.

- Click Save on the template to save your changes.
- Click Next.
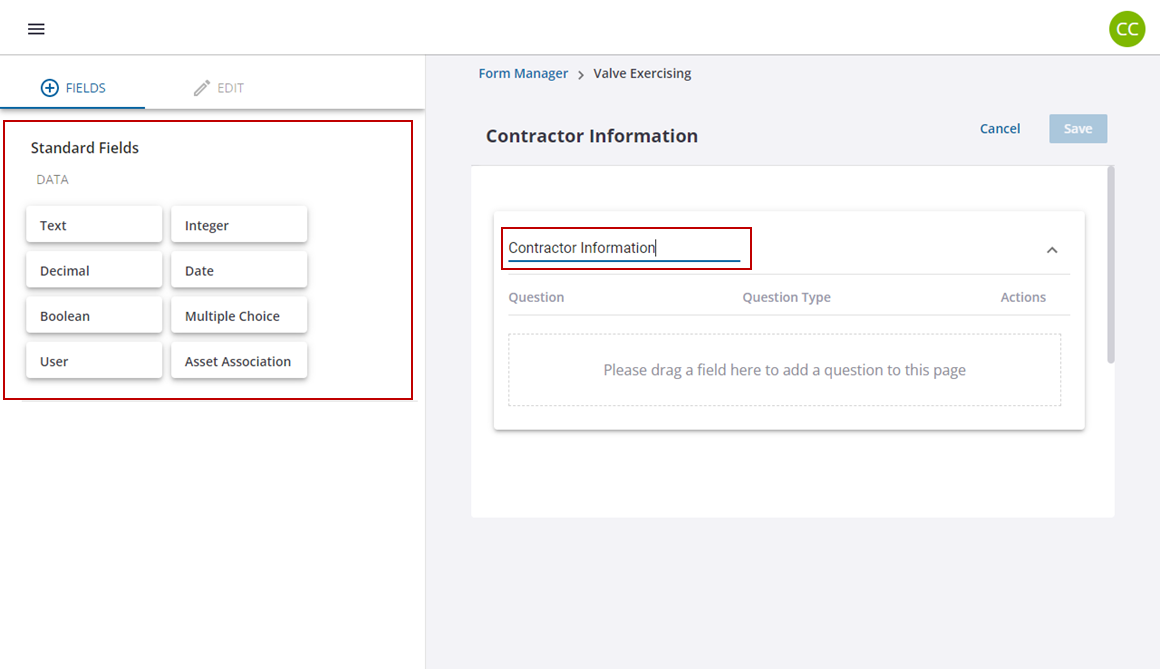
Step 3 - Pages
The third step in configuring a form is to set up pages. This is where the actual design and layout of the form is defined.
Pages are created by clicking elements from the Fields tab on the left side of the page and dropping them on the right side of the page in the order you prefer.
The Standard Fields include:
- Data: Click and drag a Text, Integer, Decimal, Date, Boolean, Multiple Choice, Barcode, User, Asset Association, or List field to the page.
- Image: Click and drag a Signature field to the page.
- Layout: Click and drag a Group field to the page.
- Geometry: Click and drag a Geometry field to the page.
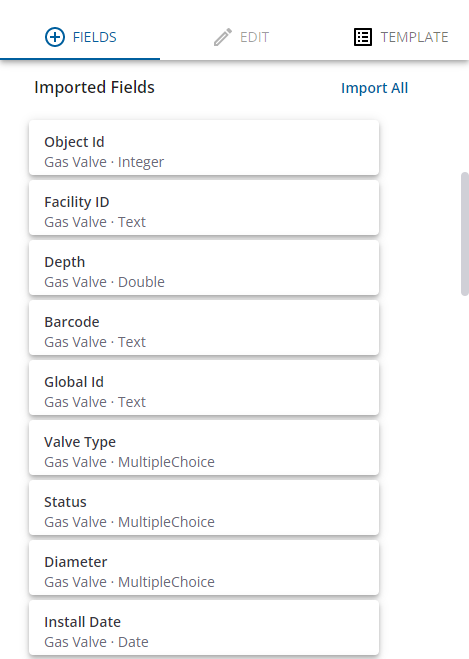
If the form was connected to a GIS asset in the Setup, attributes from the GIS schema will be available as Imported Fields that can be dragged into the form design as well.
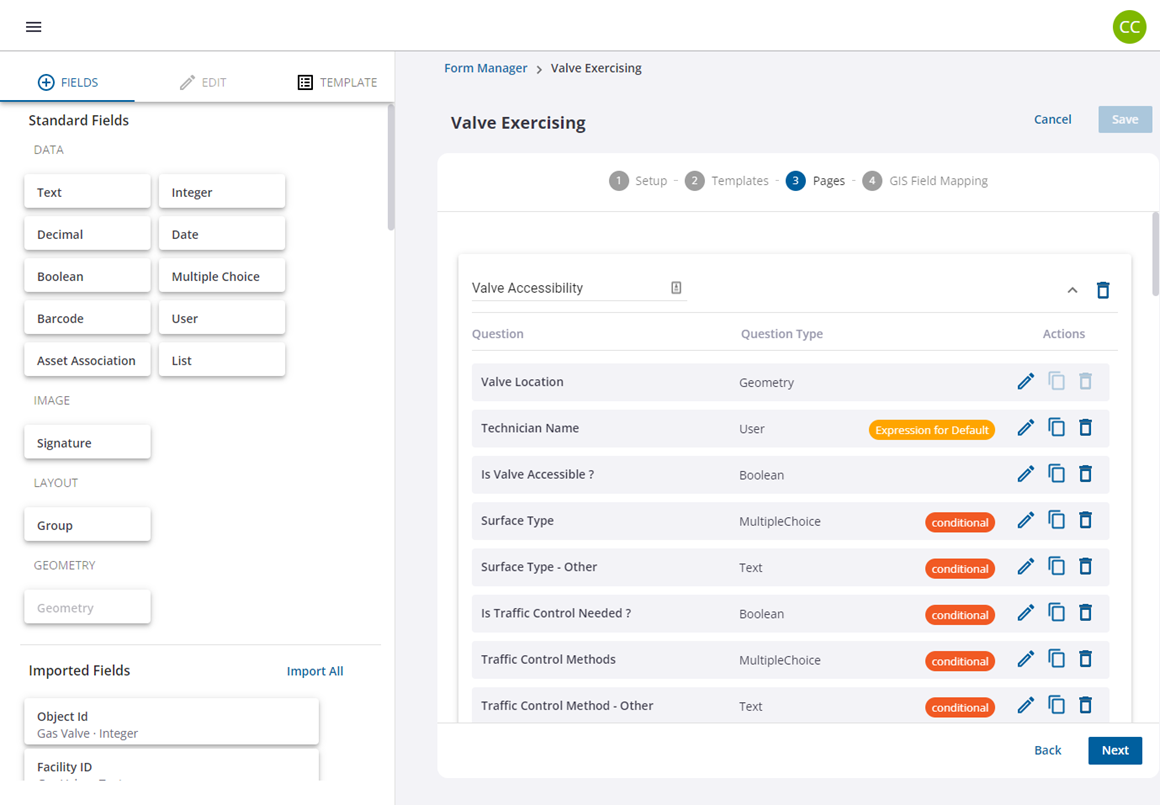
Configure a Standard Field
- From the Fields tab, click and drag a standard field onto the page in the order you prefer.
Once it is dropped, the Edit tab opens for the field.
- Follow the prompts under the Edit tab to fill the required fields.
- Select the check boxes for the Advanced Options you want for the field.
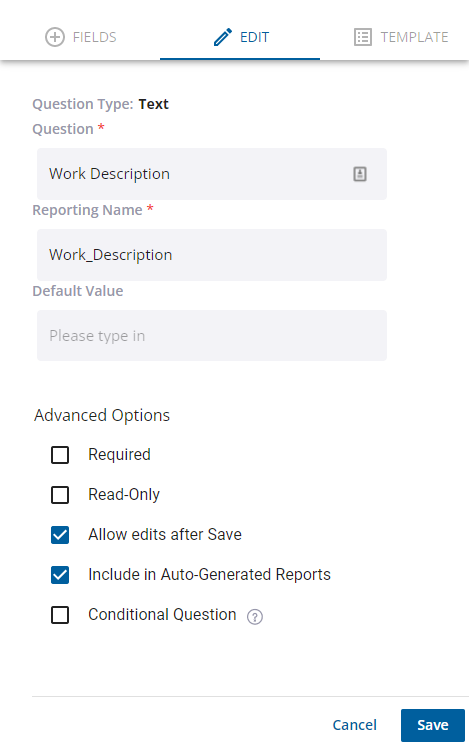
- Click Save in the Edit tab to save the changes to the field.
- Click and drag any other standard fields to the page that you want, or create a new page by dragging it beneath the current page.
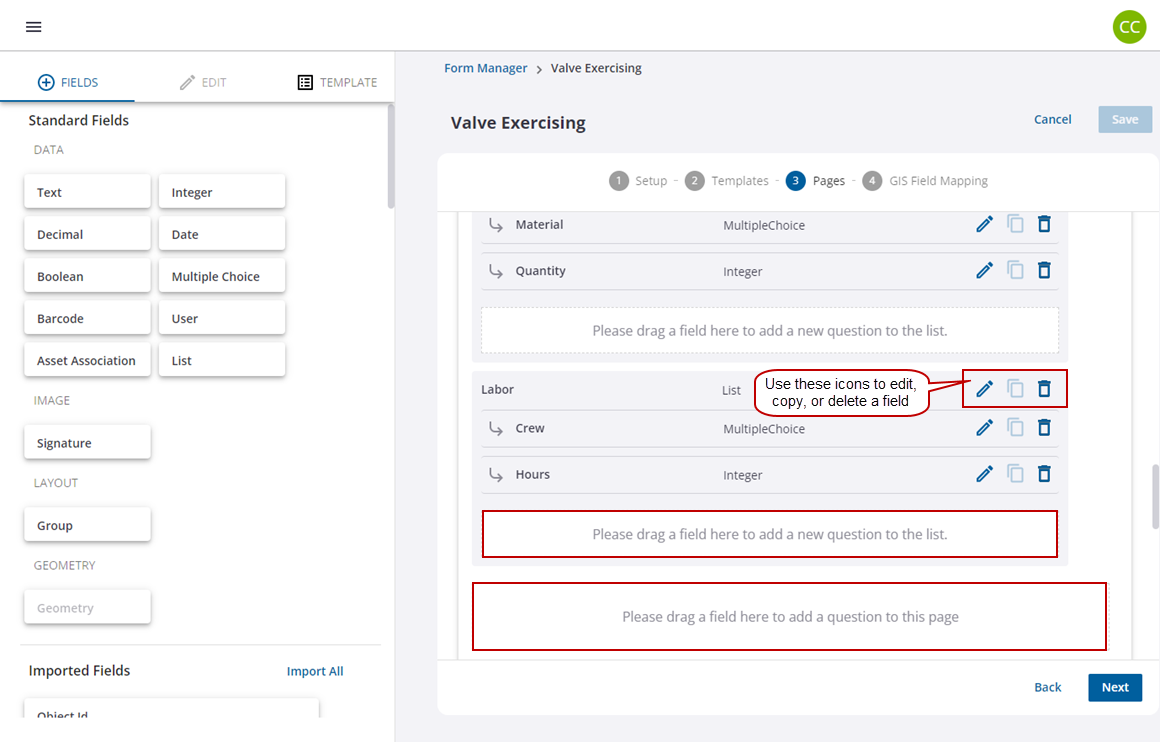
- Make any edits to existing fields within the page using the icons within the chosen standard field.
- Click and drag any imported fields from the GIS asset onto a page or create a new page by dragging it beneath the current page.
- From the Templates tab, click and drag a template onto your page.
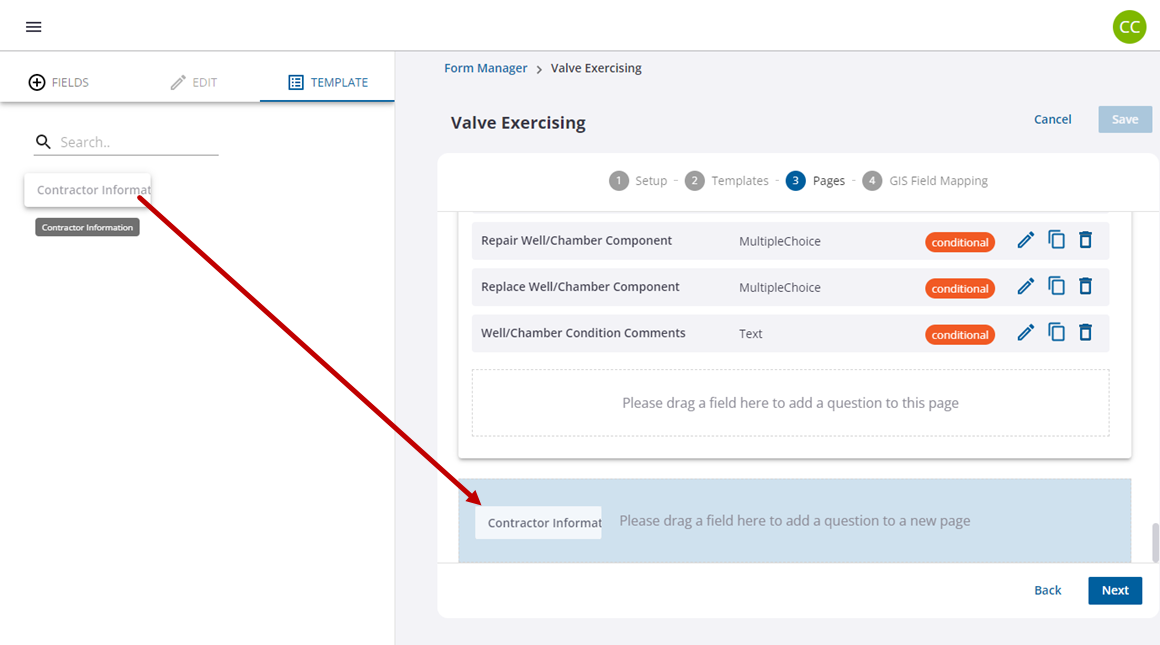
Once it is dropped, the Edit tab opens for the field.
- Click Save in the Edit tab to save the changes to your page.
- Click and drag any templates onto a page or create a new page by dragging it beneath the current page.
- Follow the same steps to edit the fields and pages.
- Click Next when you are done creating pages.
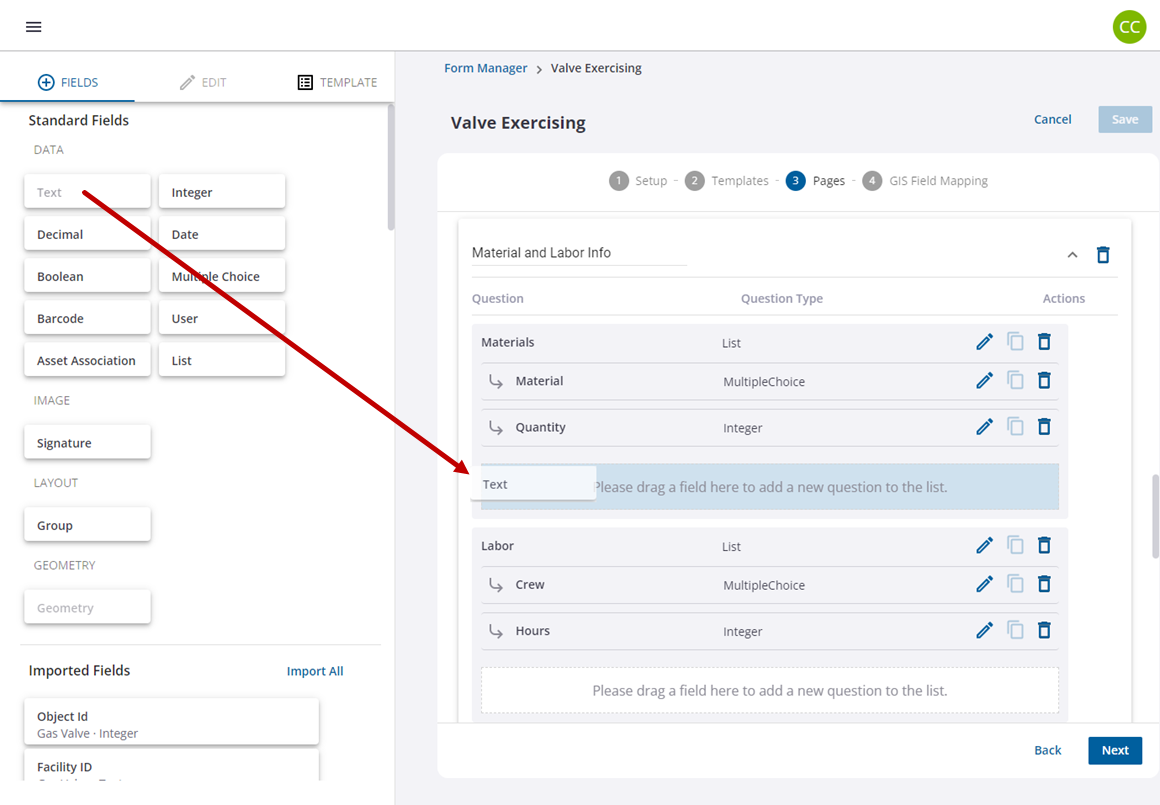
Configure a List Field
List data types allow you to group other data types together. The list data type is the parent and any data types added to the list are child data types. The following steps cover the specific configuration for the list data type.
- From the Fields tab, click and drag the list data type field onto the page.
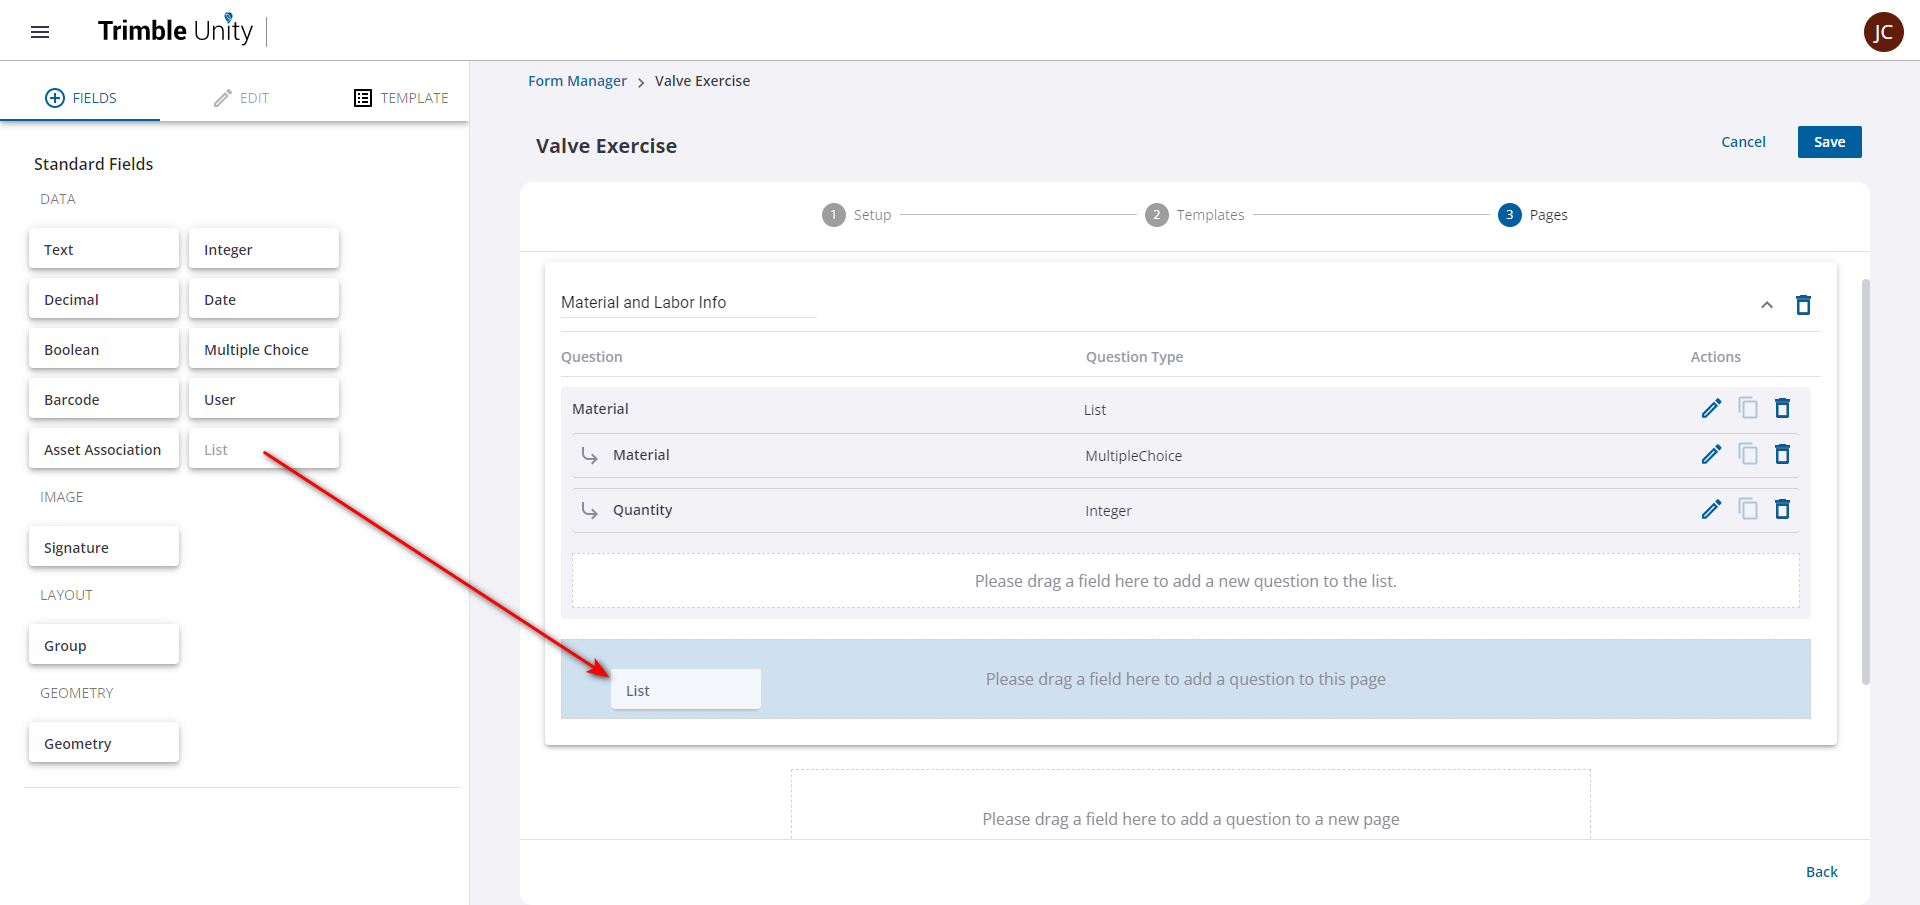
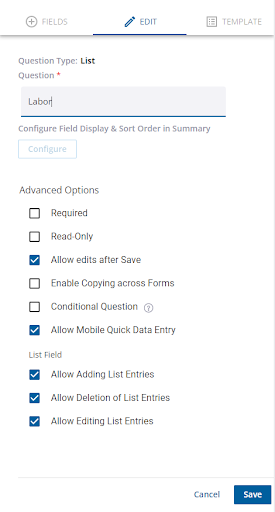
Once it is dropped, the Edit tab opens for the list data type.
- Enter a name for the list data type.
- Select the check boxes for the Advanced Options you want for the field. See Form Manager Fields for an explanation of these fields.
- Click Save.
Once the list data type is saved, you can add other data types to it. These are called child data types.
- Drag and drop a child data type into the list.
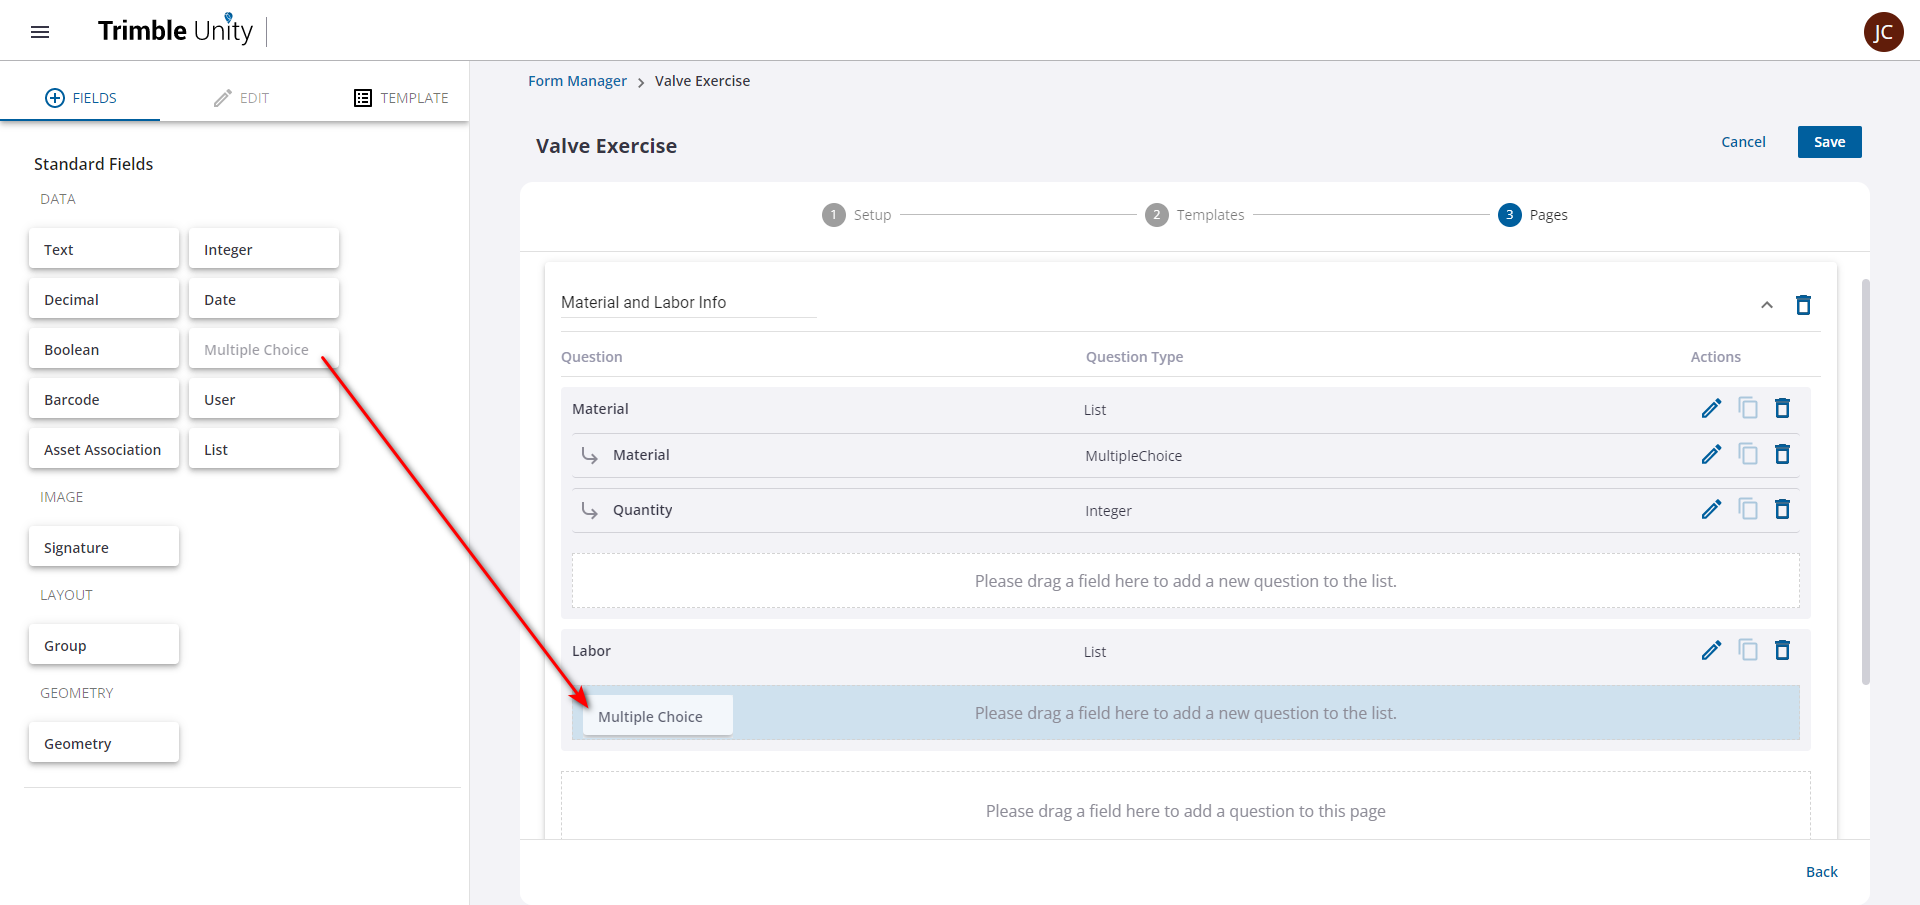
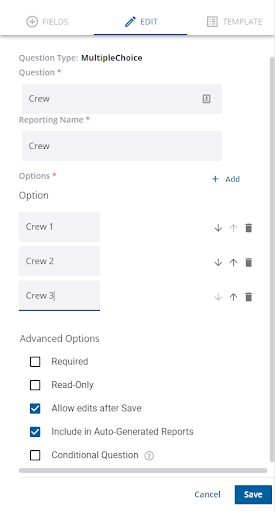
Once it is dropped, the Edit tab opens for the child data type field.
- Enter a name for the child data type.
- Select the check boxes for the Advanced Options you want for the field. See Form Manager Fields for an explanation of these fields.
- Click Save.
- Repeat these steps as needed to add all of the child data types.
Once child data types have been added to the list data type, you can configure the settings for the field display and sort order.
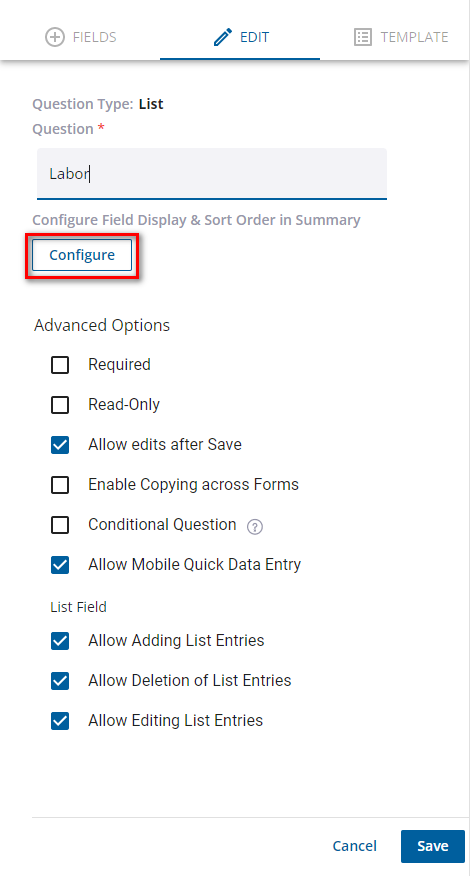
- Click the Edit Field icon for the list data type.
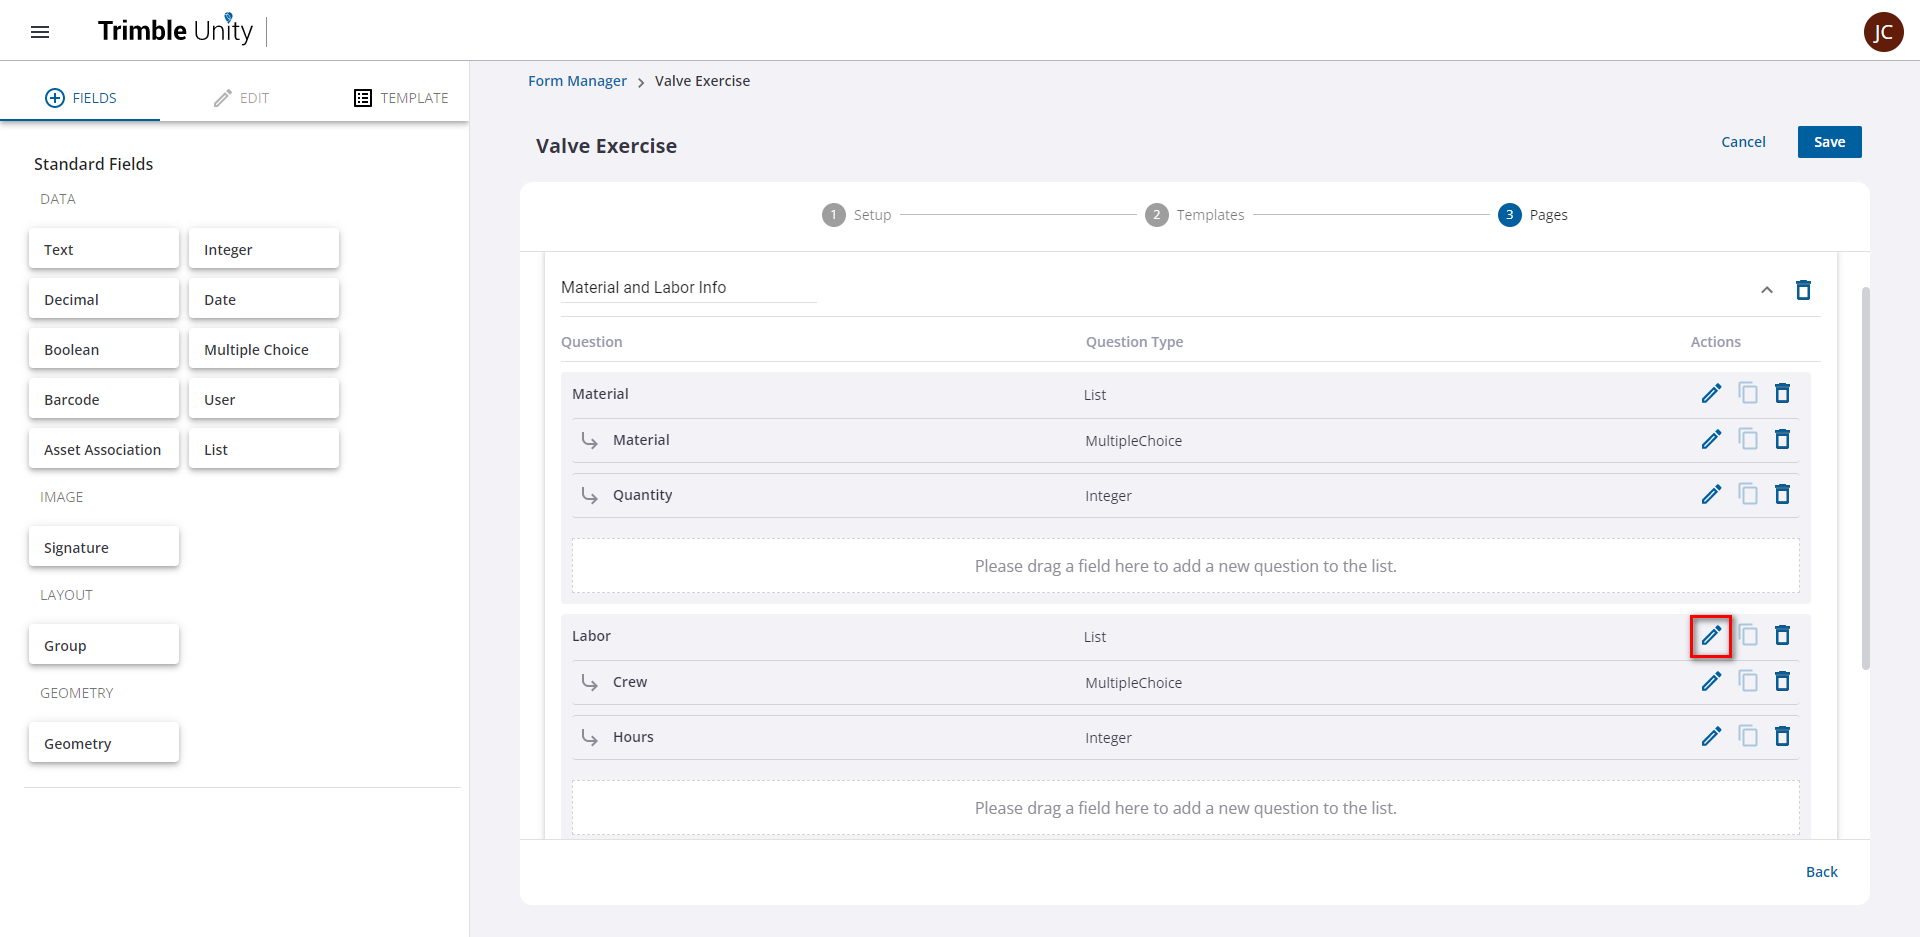
- In the Edit tab, click Configure.
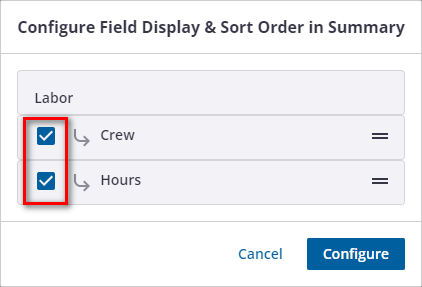
- Selected fields will be shown in the summary view. Clear the check box for any fields that you do not want to include.
- To change the order of the fields in the summary, click the reorder icon on the right and drag that field to the desired location.
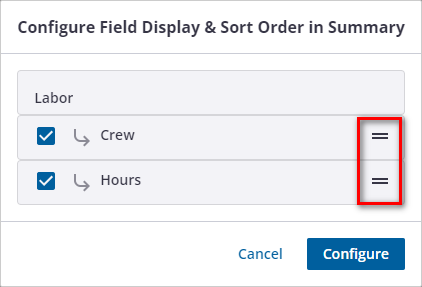
- Once you've made the desired changes to the field display and sort order, click Configure to save the changes.
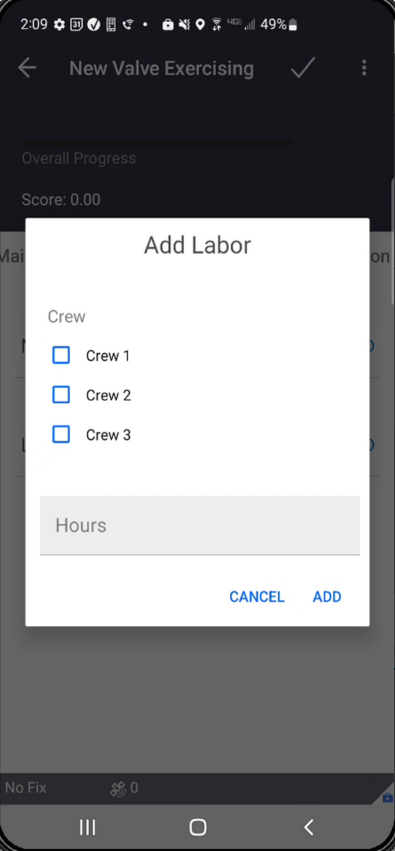
The following image shows an example of how list data types appear in the mobile app.
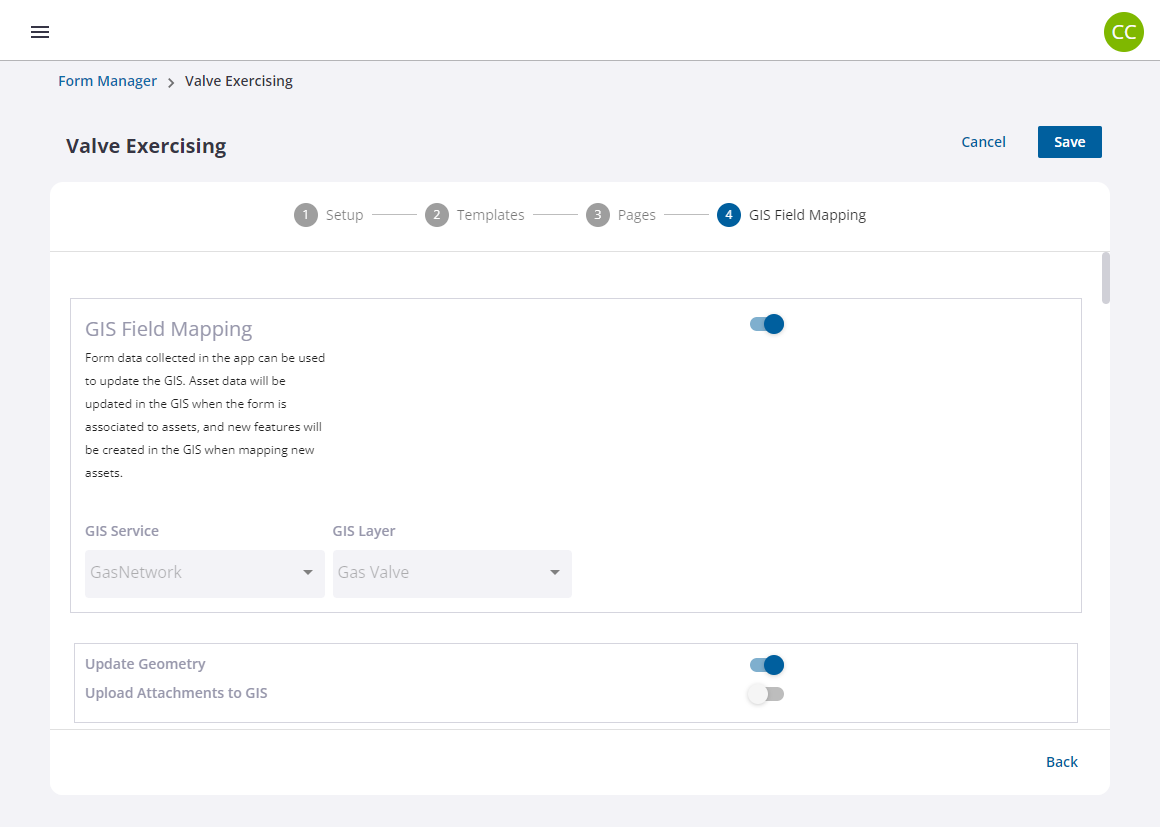
Step 4 - GIS Field Mapping
The fourth step is GIS Field Mapping which can be enabled when it is associated to an asset.
NOTE: This option is only available when GIS Field Mapping is enabled in the Setup section.
- Enable GIS Field Mapping. The GIS Service and GIS Layer that were selected in the Setup stage are displayed.
- To update the position information of the asset, enable Update Geometry.
- To upload attachments or files added in the Trimble Unity mobile app, enable Upload Attachments to GIS.
- Select the value for each custom form field. Any form field that was imported will default to the field name in the GIS schema. Fields can only be mapped to the same data types in the GIS asset.

- The standard metadata fields are always included during the GPS data collection process depending on the receiver type. Select a value for the metadata fields.
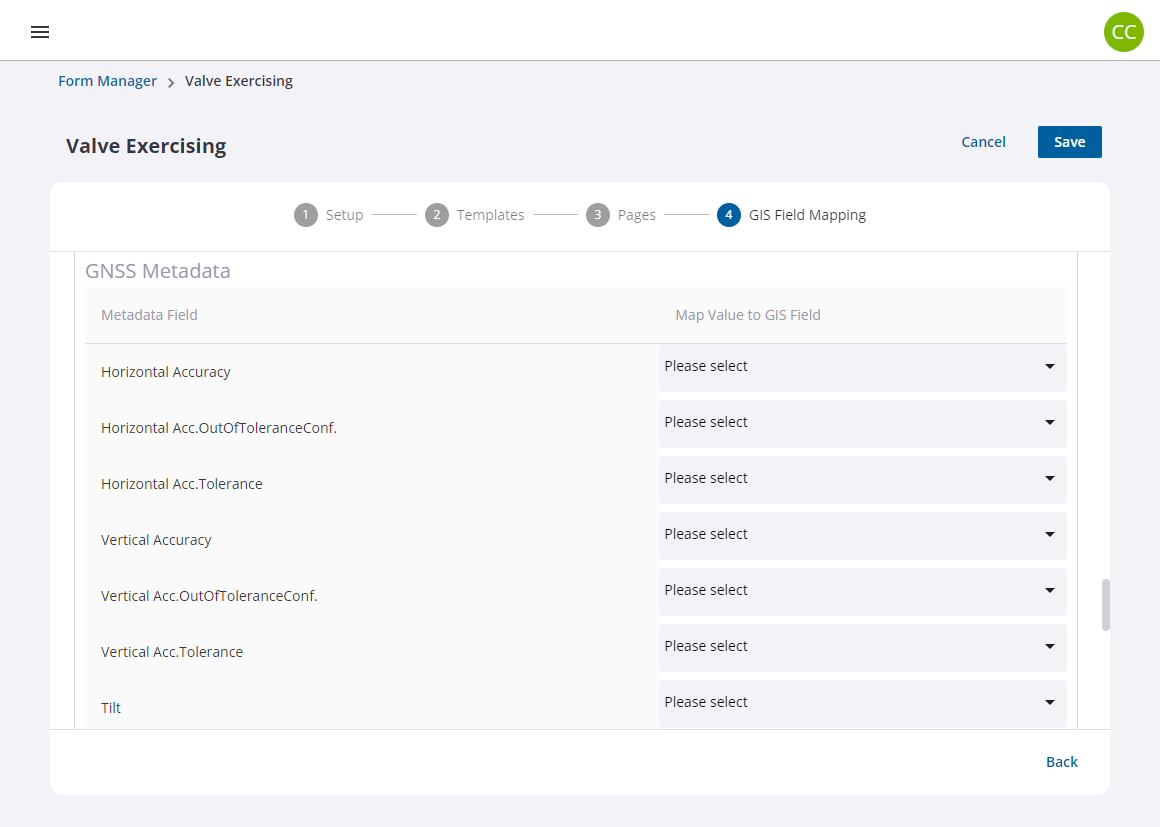
- Click Save to save all your changes.
The new form displays in the list of forms.
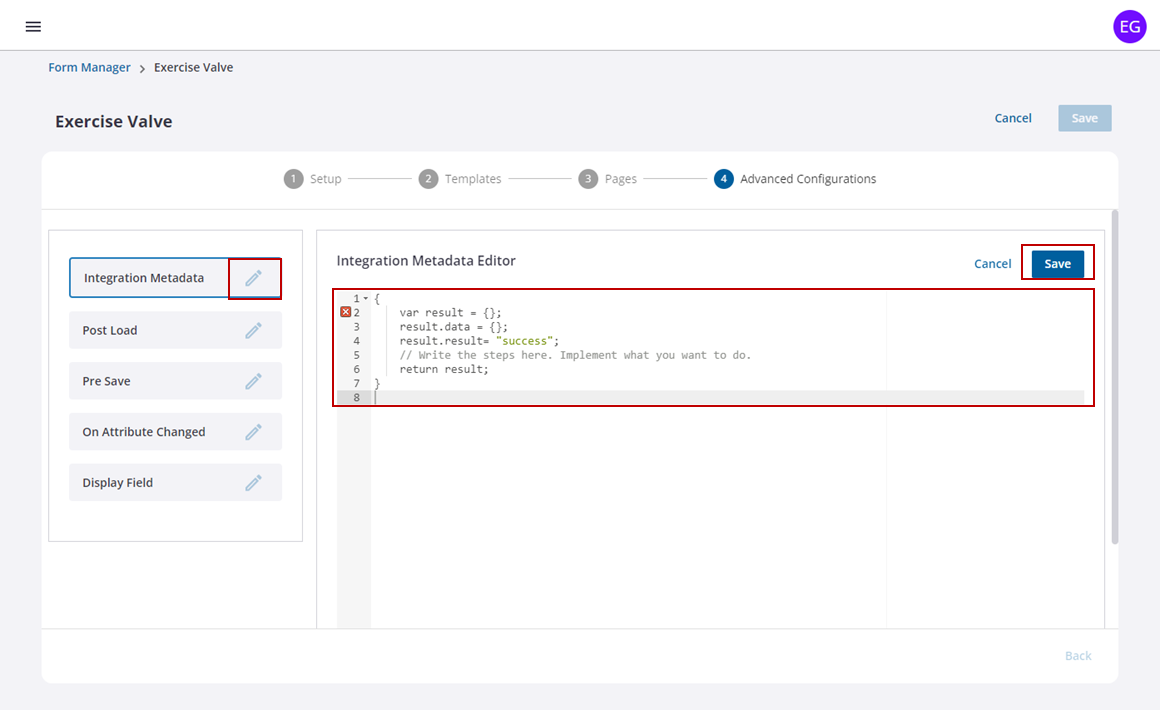
Step 5 - Advanced Configurations
The fifth step is Advanced Configurations which allows you to configure advanced scripting options to extend the capabilities of the form. Scripting can be applied for the following stages of each form.
- Integration Metadata:
- Post Load: Applied when a new form is created on the mobile device.
- Pre Save: Initiates the script when saving the form. This can be used to validate fields or calculate new values based on other fields when the form is saved.
- On Attribute Changed: The script is applied when any field value is changed on the form either through a form edit or new form creation. An example would be when creating scoring values for survey reports based on other form values entered.
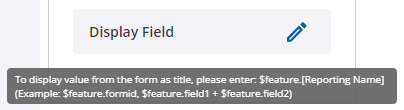
Scripting can also be applied to configure a display field for the form.
- Display Field: Scripting can be used to define a single field or to combine fields together to create the display field that is used in form lists to quickly identify forms without having to review each form details on the web and mobile apps. You can use the scripts provided in the tooltip when you hover over the Display Field.
Example Display Field Configurations:
-
'BOOLEAN:' + $feature.template_boolean + 'CHOICE' + $feature.template_choice + 'integer' + $feature.integerdisplay
-
$feature.text + "Text"
-
$feature.text +" "+ "Text"
-
"Text "+ $feature.text
-
'Planned Maintenance ->'+ $feature.water_asset_no +':'+ $feature.local_asset_description +'-'+ $feature.class_1+ '\\'+ $feature.class_2
-
'Asset Edit/Add new Asset ->'+ $feature.water_asset_no+ '('+ $feature.new_updated_qr_code +')'+ ':'+ $feature.local_asset_description +'-'+ $feature.class_1 +'\'+ $feature.class_2 +'(PM:'+ $feature.complete_planned_maintenance_survey +')'
NOTE: A form can only have one display field. If you choose to leave the display field empty, the default behavior is to show the numeric Id of the form.
Scripting uses the basic format below.
Scripting Format
{
    var result = {};
    result.data = {};
    result.result= "success";
    // Write the steps here. Implement what you want to do.
    return result;
}
- To edit a script, click the edit icon on the script form you want to edit.
- Enter the script into the JavaScript editor panel.
- Click Save.
See the Script Appendix for more details on scripting capabilities and formats.
- Open the App Builder to access the Forms panel, then click Manage.
- From the Form Manager page, click the Share Form icon next to the form you want to share.
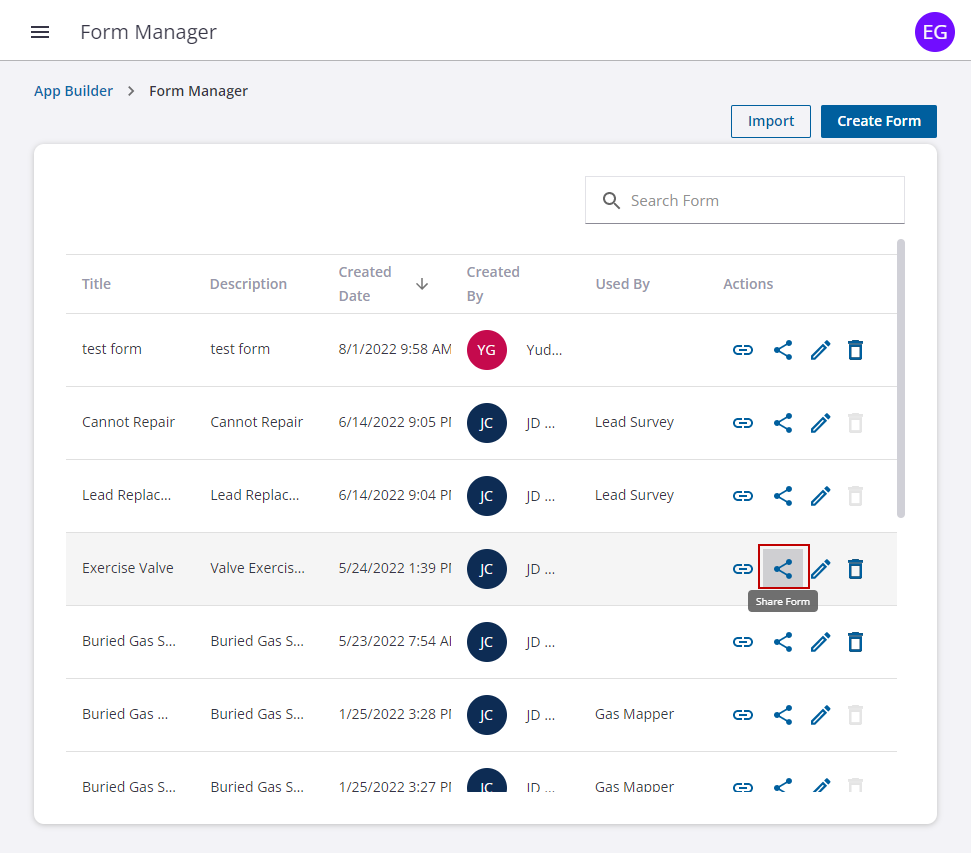
The Share panel opens.
- Click Copy to copy the link.
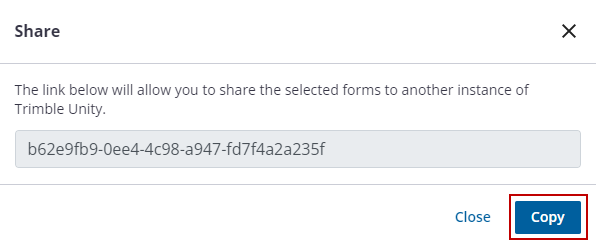
A message appears saying the link was copied.

- Once the link is copied, click Close on the Share panel.
- From the Form Manager page, click Import.
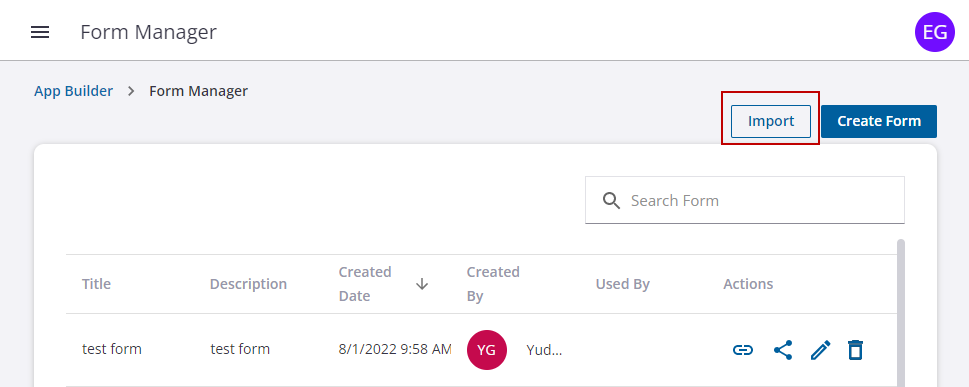
- Click Import in the upper-right corner of the page.
- Paste the Id of the form you want to import into the field.
|
Copy
|
 EXAMPLE: Copy this Id code to import the Gas T&T ASTM F2897 data collection form.
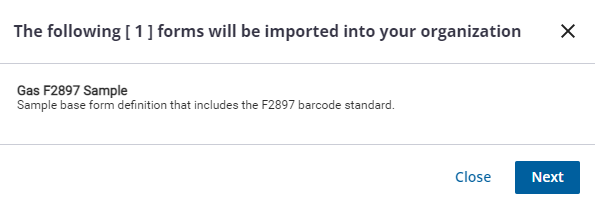
- Click Next.
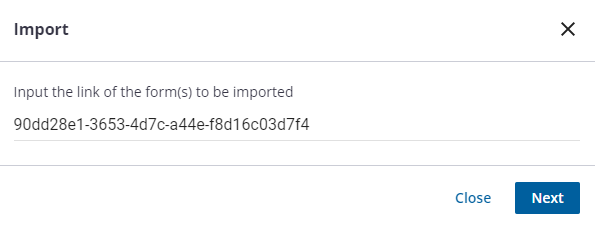
- Click Next on the confirmation page to import the form.
When using the import tool to copy an existing form, the Import Forms panel will open and ask you to rename the copied form.
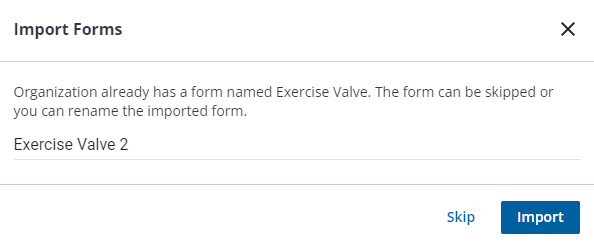
- Click Import.
The new form displays in the list of forms.
- Click Edit on the imported form to edit the barcode information or add any custom fields to the form.
- Click Save to save your changes.