Create and Manage Measurement Types
Measurement types are a classification for a monitoring site and are assigned to measurements. There are many default measurement types, but measurement types can be managed and new measurement types can be created.
|
|
 PREREQUISITES:
- Click the Remote Monitoring Configuration icon in the upper-right corner.

- In the Measurement Types panel, click Manage to manage existing measurement types or Create Measurement Type to select and create a measurement type.

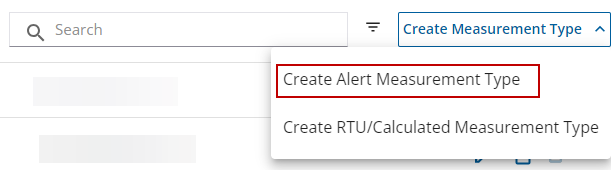
You can create a new alert measurement type from the app.
- Click Create Measurement Type and select Create Alert Measurement Type on the Measurement Types panel.
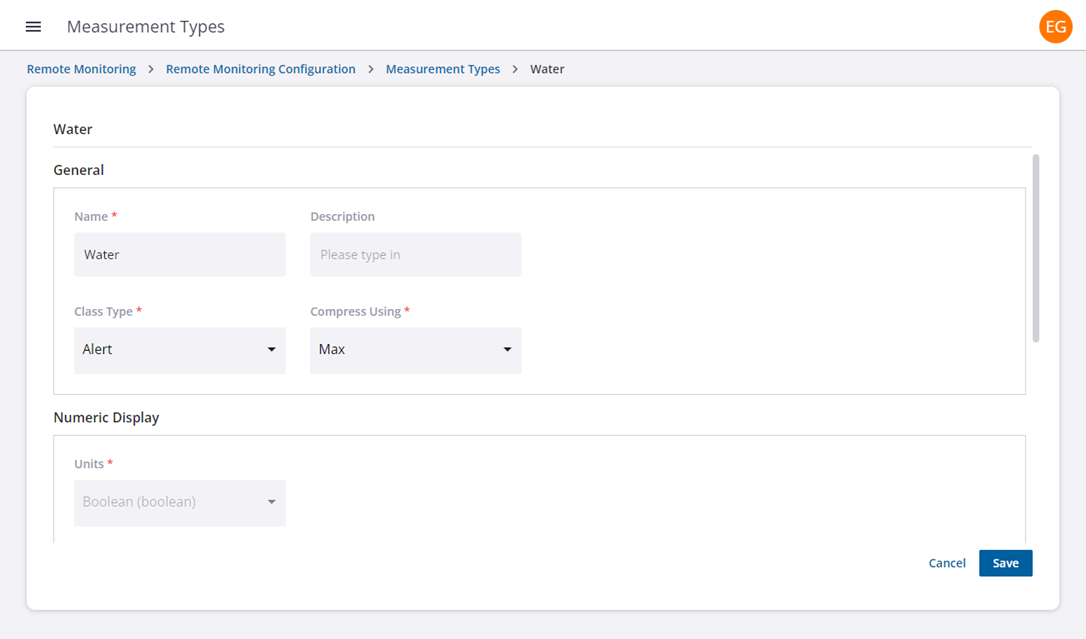
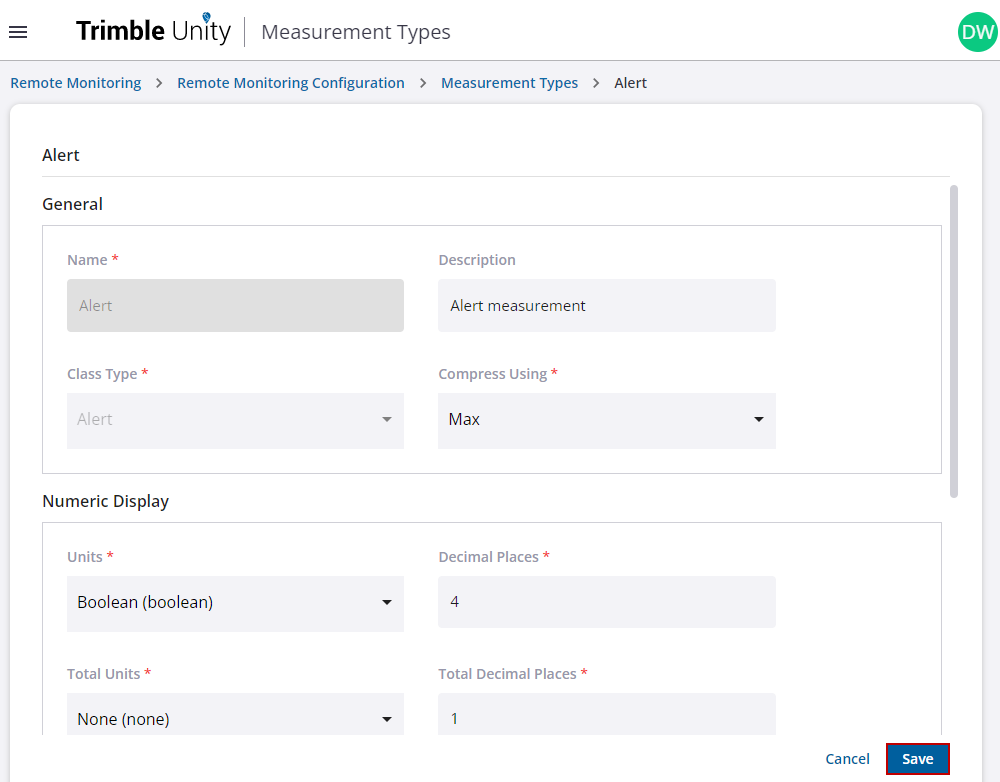
The Untitled Alert Measurement Type page opens.
- Enter a Name and Description, and select a Class Type and Compression Using in the General section.
- Class Type: Group similar measurement types together. For example, you might have different flow measurement types, but you can group them all under a 'Flow' class.
- Compression Using: The operation of Sum, Avg, Min, or Max is applied by default to a measurement when compression is applied to a telemetry report. For example, if the measurement is for rainfall, you may want the Sum amount of rain to be reported or if the type is a velocity (i.e., feet/second) you may want the Avg speed to be measured over the compression period.
- In the Numeric Display section, select the default measurement Units and Total Units and enter the amount of decimal places to be displayed on a report. Units and Total Units can use the same unit of measurement or use different units of measurement. For example, if using a rate measurement, the Units may be 'gallons per second' and the Total Units may be 'gallons.' On the report, it would show data for both the gallons per second and the total amount of gallons overall for a selected time period; this conversion is done automatically.
- In the Graphical Display section, select the type of chart to display the information (i.e., bar, line, etc.), the color of the chart, and styles for any lines or points that are a part of the chart.
- Click Save to save the new measurement type.
|
|
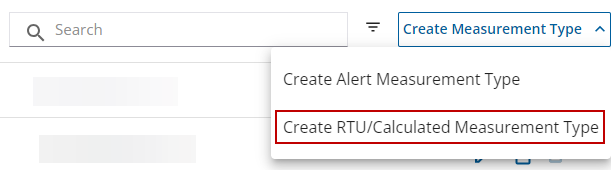
You can create a new measurement type from the app.
- Click Create Measurement Type and select Create RTU/Calculated Measurement Type on the Measurement Types panel.
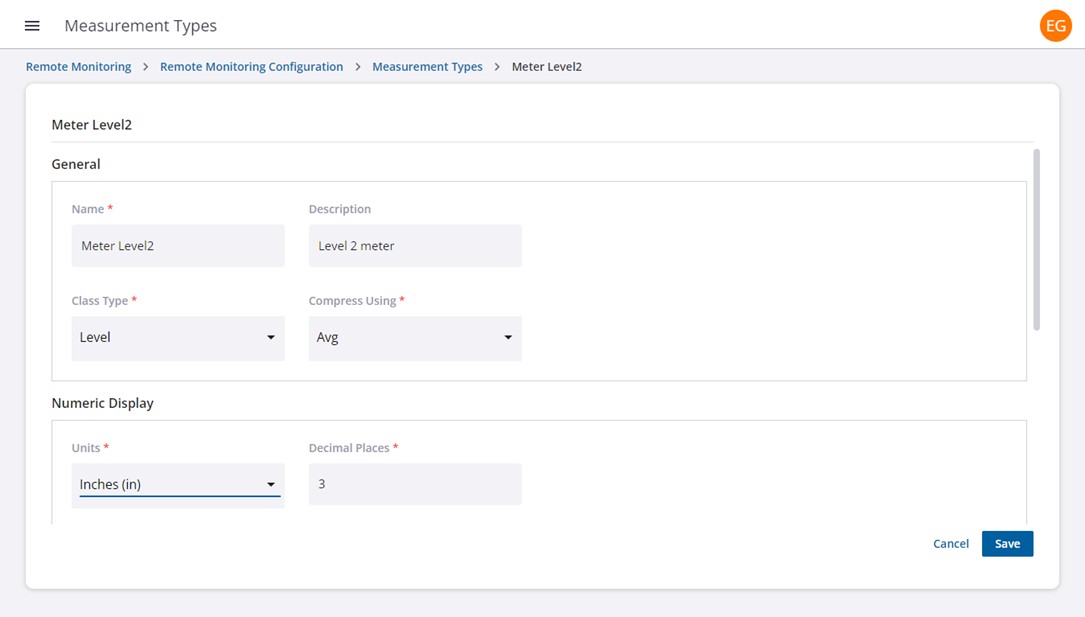
The Untitled Measurement Type page opens.
- Enter a Name and Description, and select a Class Type and Compression Using in the General section.
- Class Type: Group similar measurement types together. For example, you might have different flow measurement types, but you can group them all under a 'Flow' class.
- Compression Using: The operation of Sum, Avg, Min, or Max is applied by default to a measurement when compression is applied to a telemetry report. For example, if the measurement is for rainfall, you may want the Sum amount of rain to be reported or if the type is a velocity (i.e., feet/second) you may want the Avg speed to be measured over the compression period.
- In the Numeric Display section, select the default measurement Units and Total Units and enter the amount of decimal places to be displayed on a report. Units and Total Units can use the same unit of measurement or use different units of measurement. For example, if using a rate measurement, the Units may be 'gallons per second' and the Total Units may be 'gallons.' On the report, it would show data for both the gallons per second and the total amount of gallons overall for a selected time period; this conversion is done automatically.
- In the Graphical Display section, select the type of chart to display the information (i.e., bar, line, etc.), the color of the chart, and styles for any lines or points that are a part of the chart.
- Click Save to save the new measurement type.
|
|
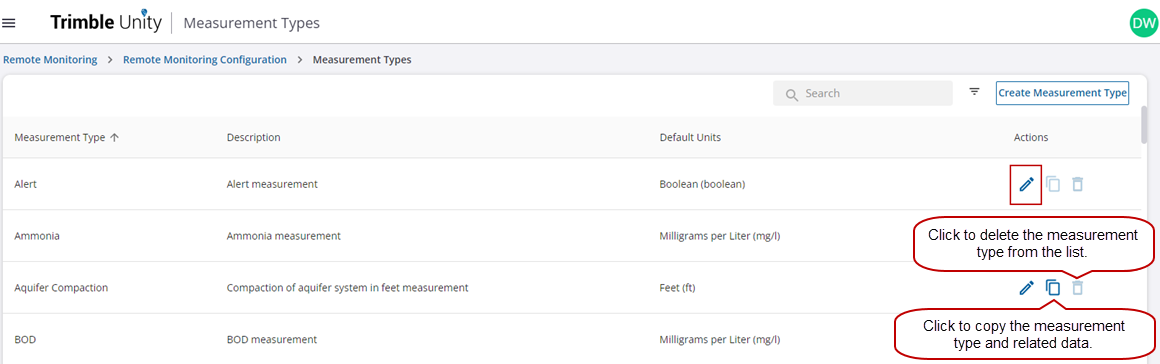
You can manage existing measurement types from the app.
- Click Manage on the Measurement Types panel.
- From the list of measurement types, click the edit icon.
- Make updates to the measurement type, such as the description, measurement units, or how the information is displayed in a chart.
- Click Save.
- Click the copy icon to clone a measurement type and create a new measurement type.
- Click the delete icon to remove a measurement type and the associated information.
 NOTE: Only measurement types you have created can be deleted. Any default measurement types cannot be renamed or deleted and the delete icon is disabled. Also, the class type cannot be changed.