Create and Manage Apps Using the App Builder
Apps can be created in the Trimble Unity App Builder. These can be configured to include your existing business processes that can be targeted to specific users. The apps can contain specific data collection forms and workflow templates that have previously been created. Users can be given permissions to these apps and can use them for data collection and work activities.
 PREREQUISITES:
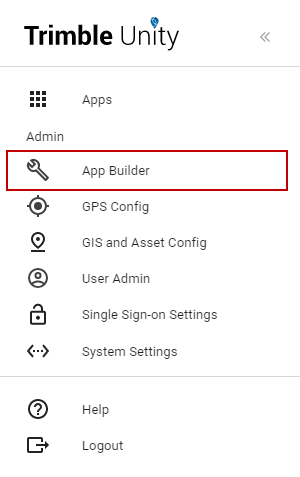
- Click App Builder from the menu.
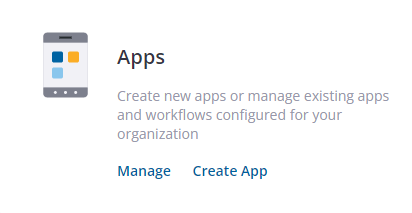
- On the Apps panel, click Create App to create a new app or click Manage to update an existing app.
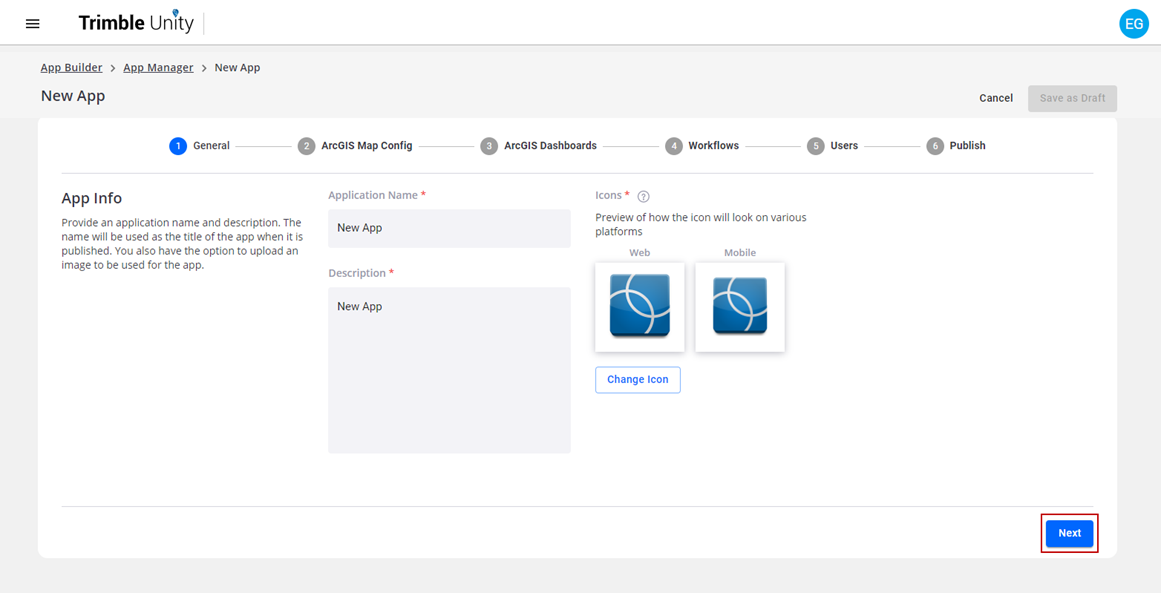
The General section is used to configure the app name, description, and icon.
- On the General tab, edit the Application Name and add a Description of the app.
- Click Change Icon to change the icon you want to use for the app.
 NOTE: If you change the image for the icon, it must meet these requirements:
- .png image
- 90 x 90 pixel
- 1 MB or less in size
- Transparent background
- Click Next.
The ArcGIS Map Config section is used to define which map will appear in this app.
- On the ArcGIS Map Config tab, select the web map or feature service you want to use for the app or search for it in the Search ArcGIS Content field. Please ensure that the web map or feature service has been shared in your ArcGIS organization or with ArcGIS Groups to ensure that all users who require access to the Remote Monitoring app also have access to this web map or feature service.
The web maps or feature services displayed are all the web maps or feature services within your ArcGIS Online or Portal for ArcGIS organization.
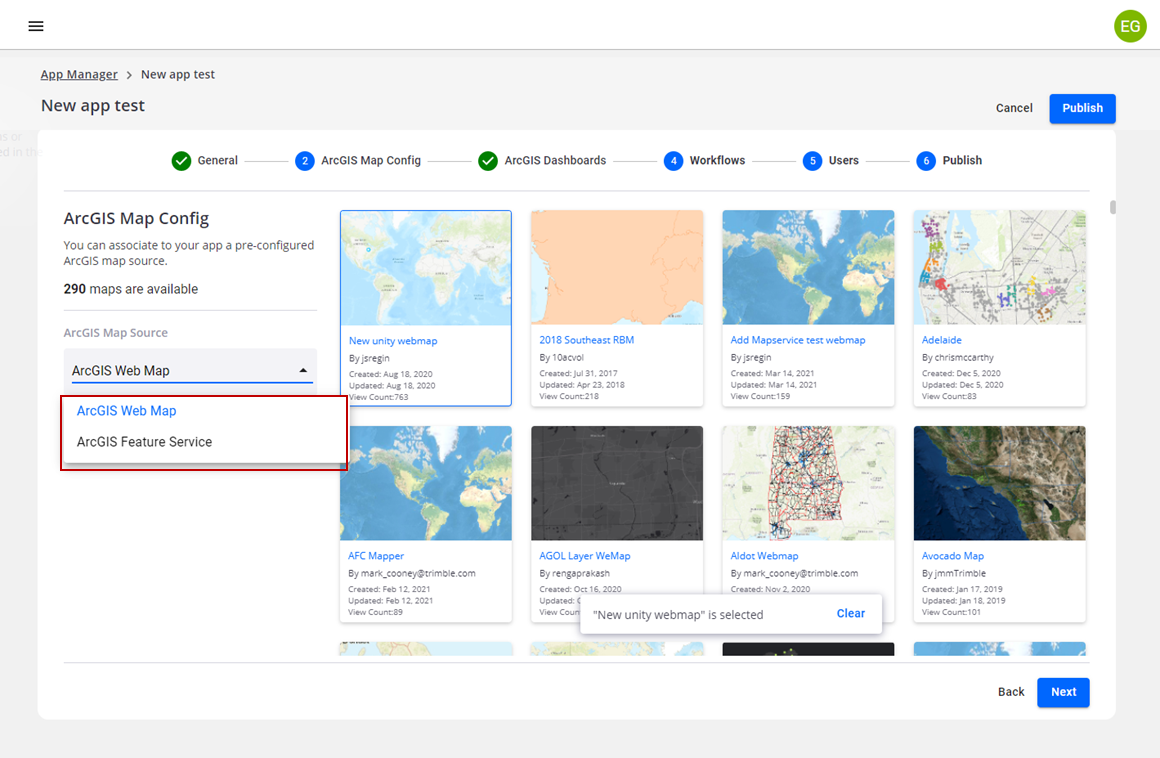
- Click Next.
The ArcGIS Dashboards section is used to associate dashboards from ArcGIS Online or Portal for ArcGIS with the app.
- If you have ArcGIS dashboards configured in ArcGIS Online or Portal for ArcGIS that you want to associate to the app, select the dashboard or search for it in the Search Dashboards field. You can select one or more dashboards.
 TIP: Dashboards can be added later to the app by editing the app from the App Manager list.
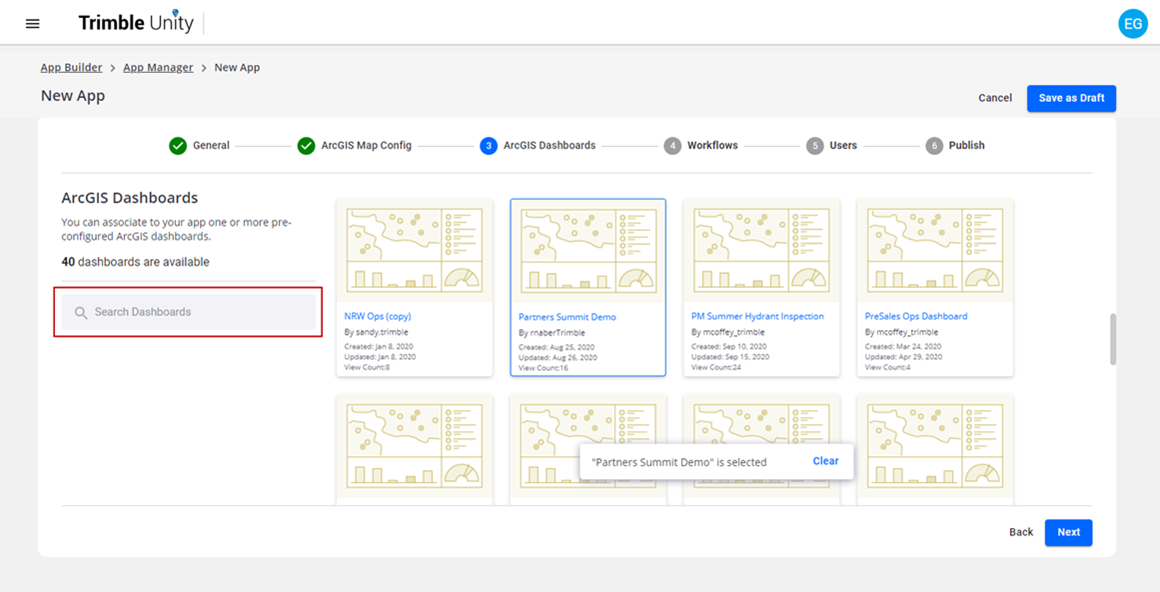
- Click Next.
The Workflows section is used to associate one or more workflows to this app.
- Click Add Workflow.
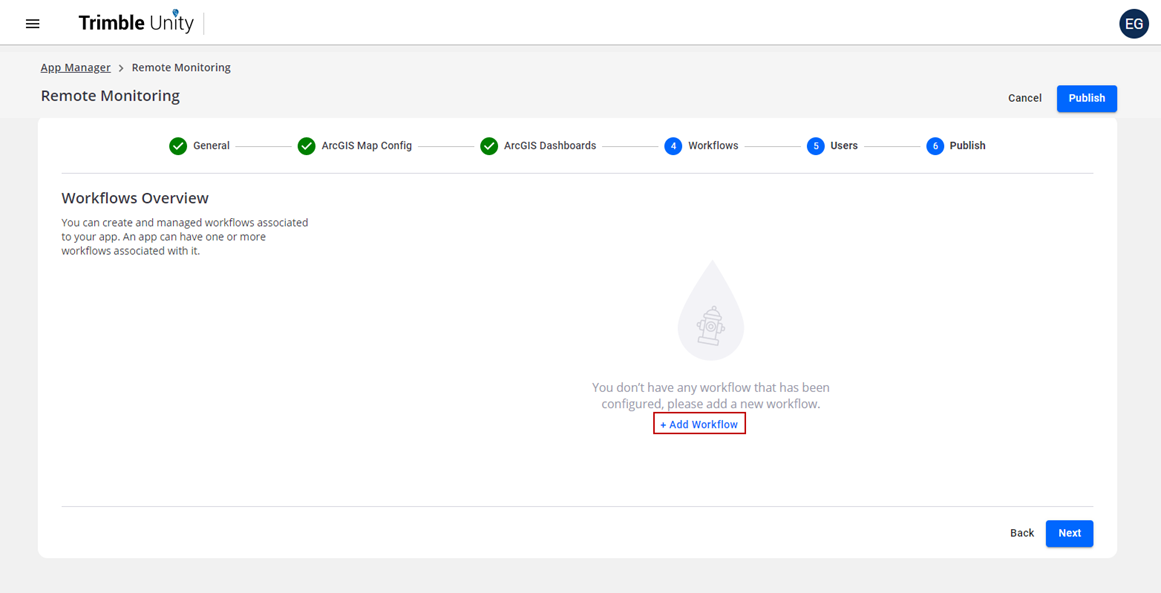
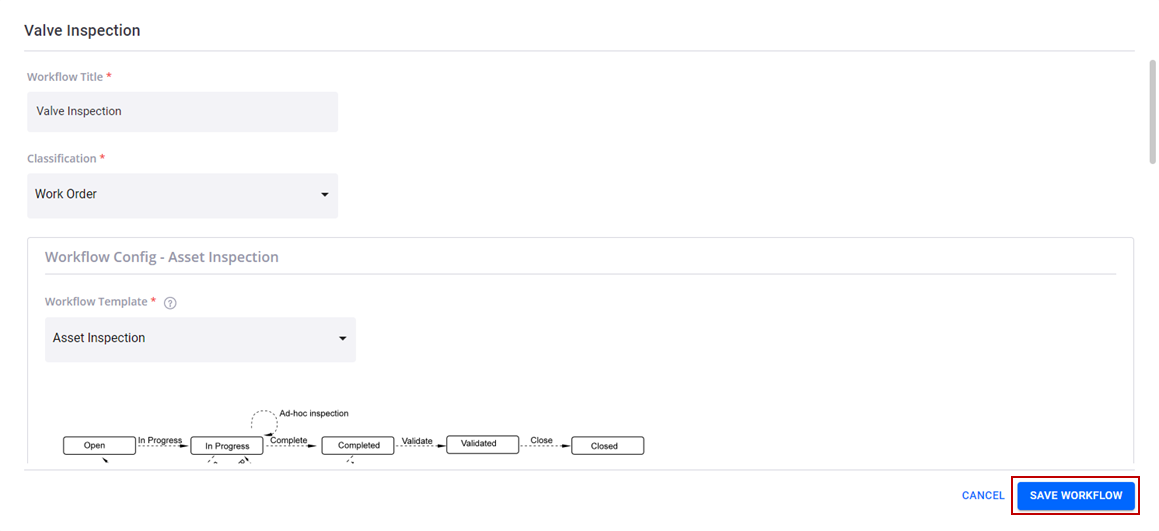
- In the New Workflow panel, enter the Workflow Title.
- Select the Classification from the drop-down list. The default is set as Work Order, but some customers might have other classifications configured by the Trimble Professional Services team.
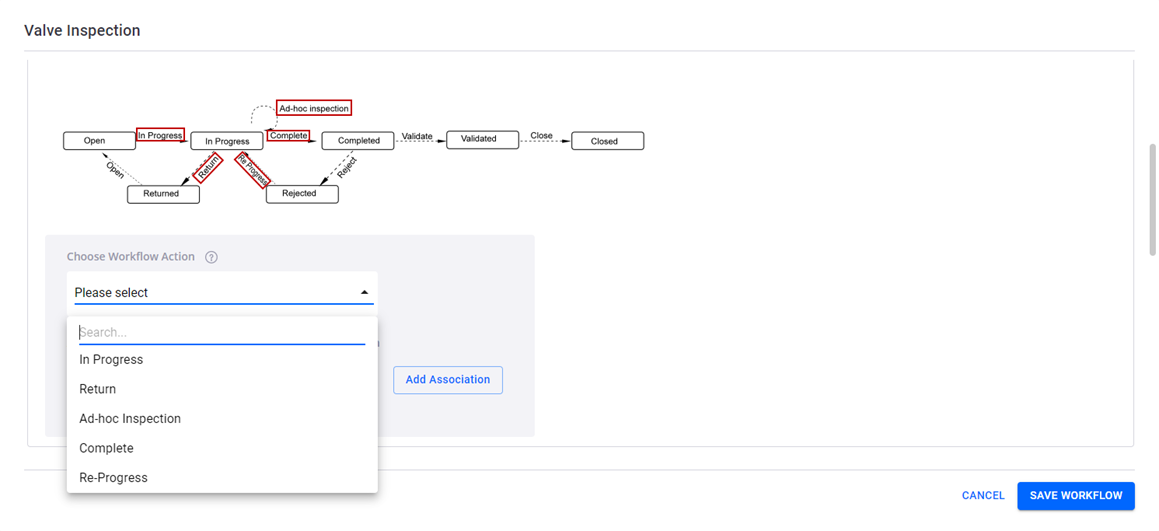
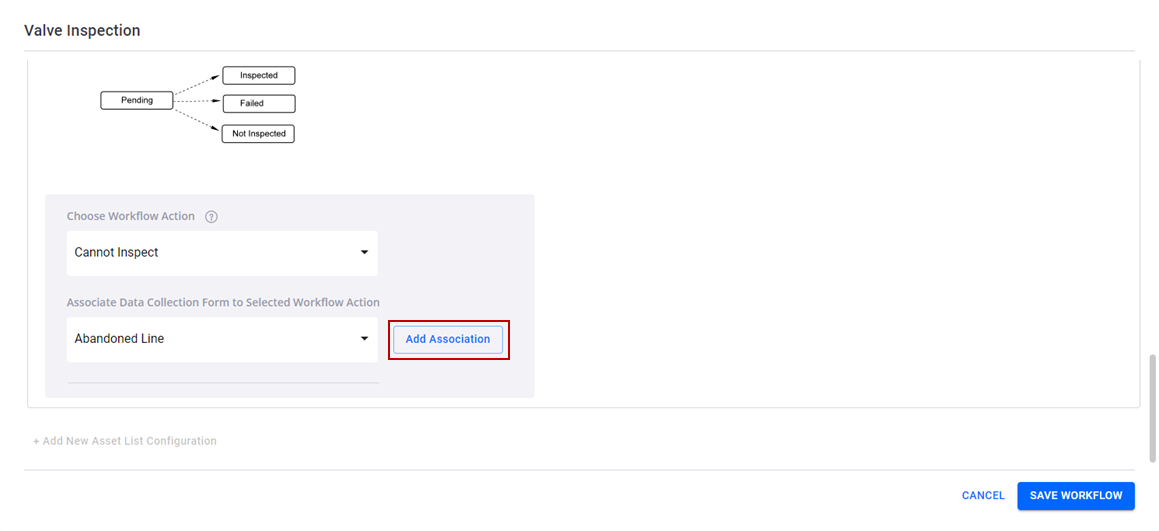
In the Workflow Config section, data collection forms can be associated to workflow actions within the workflow template.
- Select the Workflow Template from the drop-down list. See Create and Manage Workflow Templates for more information.
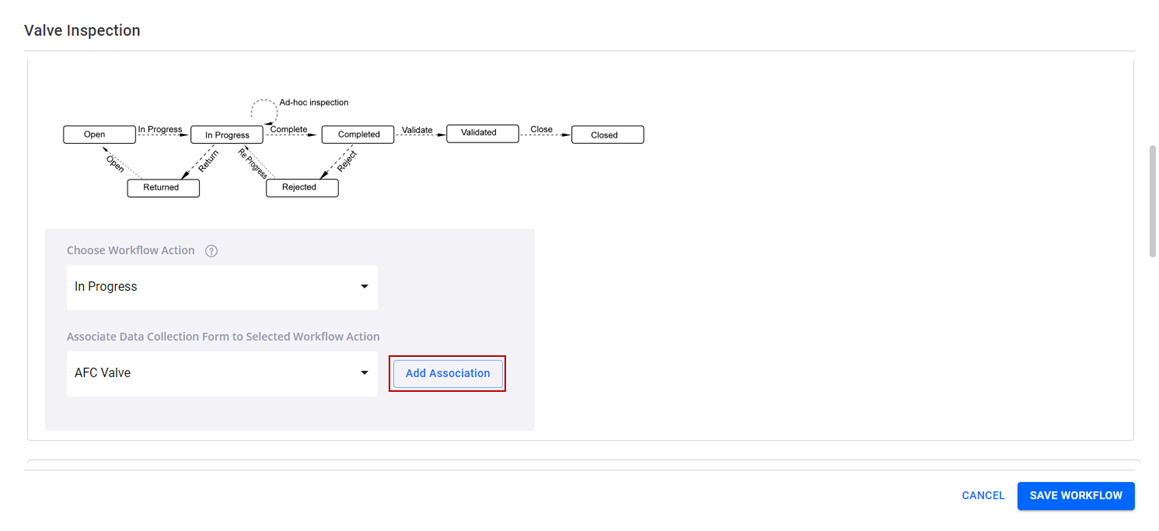
- To associate a workflow action to a data collection form, select a workflow action from the Choose Workflow Action drop-down list.
- Select a data collection form from the Associate Data Collection Form to Selected Workflow Action drop-down list.
- Click Add Association.
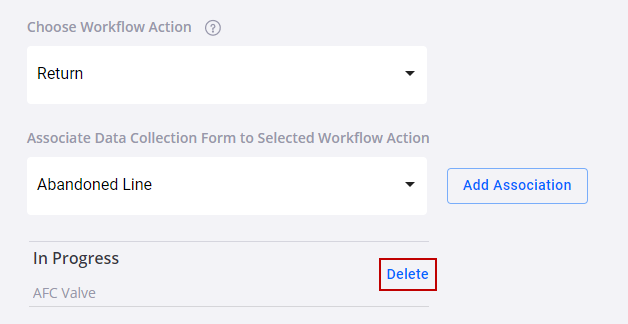
Repeat steps 5-7 to add forms to other workflow actions on the template.
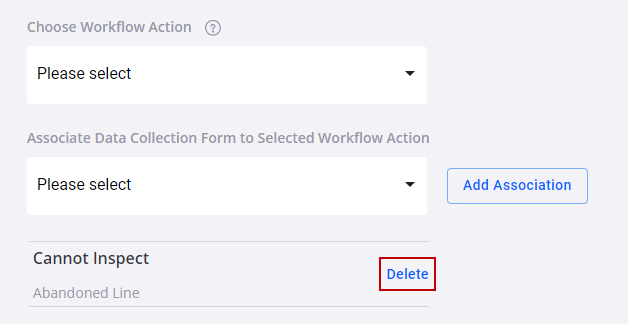
- To delete a form associated to a workflow action, click Delete.
Use the Asset Workflow Config - Associated Assets section if the workflow you are adding requires performing work on assets, such as asset inspections. You can associate a workflow to specific assets within the workflow you are adding.
- Select Associated Assets from the Assets List drop-down list.
- Select the GIS layers you want to associate to the workflow from the GIS Layers Associated with The Workflow drop-down list. These are pulled from the associated web map.
- Select the asset workflow template you want to assign to each asset from the Asset Templates drop-down list.

- Select a workflow action from the Choose Workflow Action drop-down list.
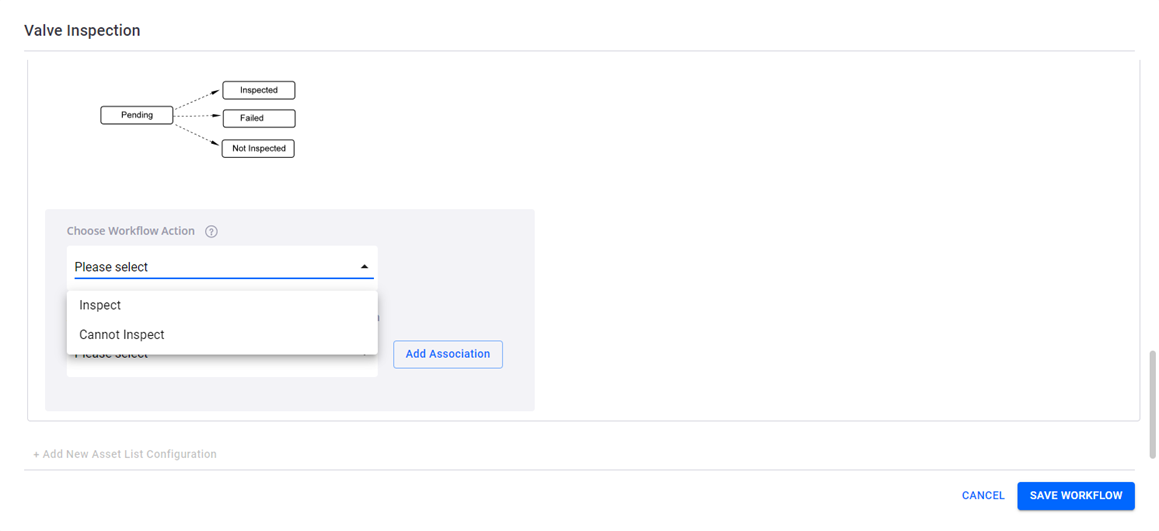
- Select a form from the Associate Data Collection Form to Selected Workflow Action drop-down list.
- Click Add Association.
Repeat steps 4-6 to add forms to other workflow actions on the asset template.
- To delete a form associated to a workflow action, click Delete.
- Click Save Workflow.
The new workflow is listed in the Workflows panel, and can be edited or deleted here.
- Click Next.
The Users section is used to determine which users will have access to this app.
- Select the check box next to the users who are authorized to access this app.
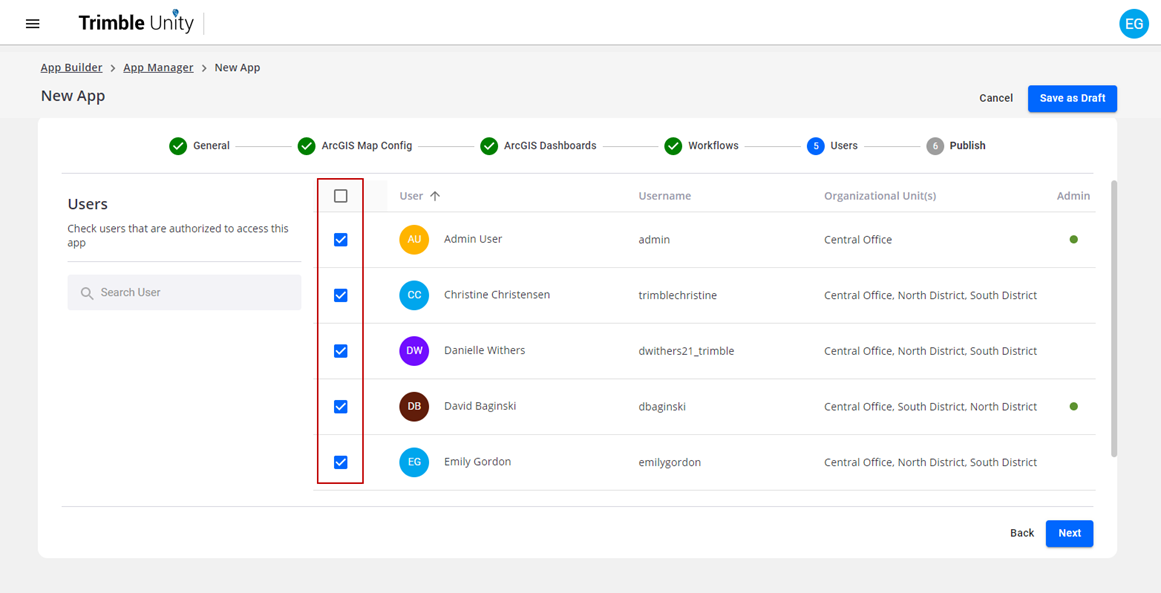
- Click Next.
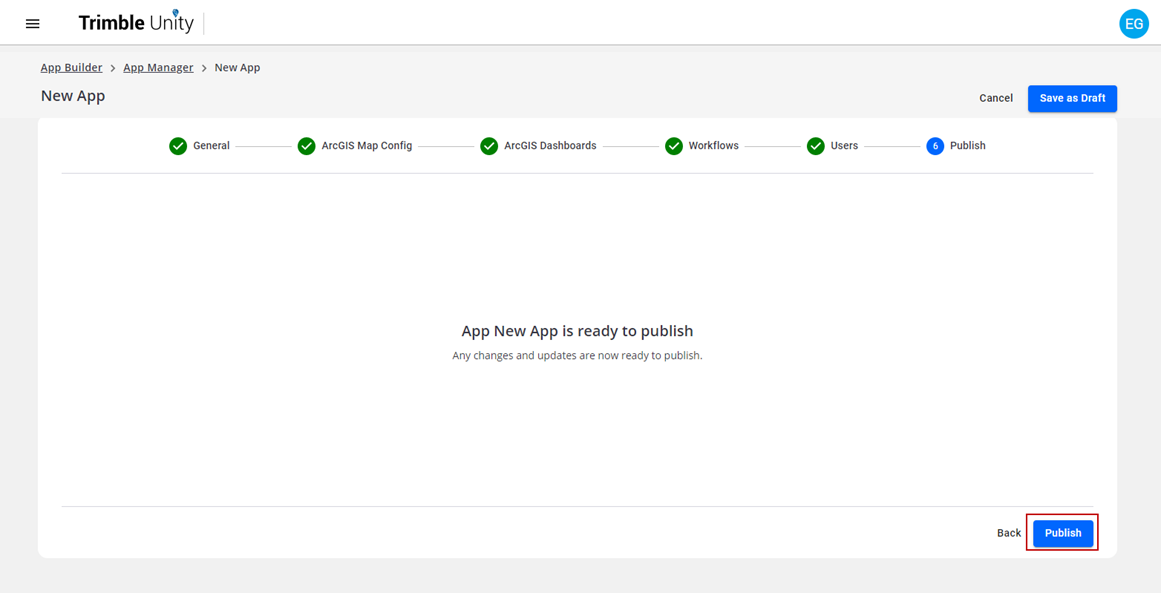
All the updates and changes made in the app are now ready to publish.
NOTE: If the ArcGIS web map associated to a published Trimble Unity app is updated to include additional GIS layers, the app in Trimble Unity needs to be republished by editing the app and clicking Publish.
NOTE: Click Save as Draft to save any changes to the new app without publishing. This allows you to return to finish building the app at any time.
- Click Publish.
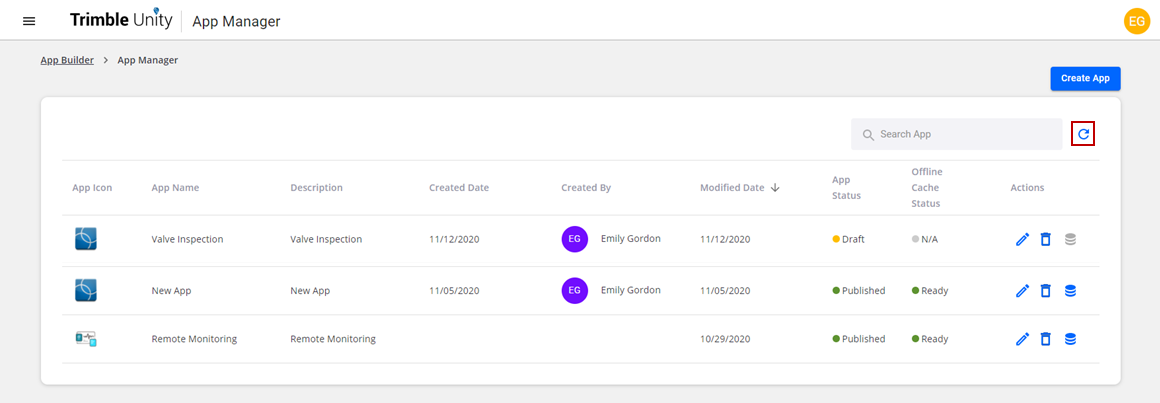
The new app and any existing apps are listed in App Manager along with the app information:
- App Icon: displays the default or selected icon for the app.
- App Name: displays the name of the app.
- Description: displays the description of the app.
- Created Date: displays the date the app was created or first saved.
- Created By: displays the name and information of the user who created the app.
- Modified Date: displays the date the app was last edited or published.
- App Status: displays the current status of the app.
- Draft: displays when the app is created and saved as a draft.
- Pending: displays when the app is published for the first time and the offline cache hasn't been initially generated.
- Published: displays when the app is published.
- Offline Cache Status: displays the status of the offline cache used for mobile apps.
- N/A: displays when the cache is not available because the app status is still a draft.
- Error: displays when an error occurs while generating the cache. Click this status to see the error details.
- Generating: displays after the app is published and the software is generating the mobile cache.
- Ready: displays after the software has completed generating the mobile cache. Click this status to see the last date and time the cache was successfully generated.
- Actions:
- Edit Application icon: click to edit the app.
- Delete Application icon: click to delete the app.
- Generate Cache icon: click to manually generate the offline cache for the app. Any app that is using the same web map will generate at the same time. This is only active for published apps.
- Click the Refresh icon to refresh the app information.