Enable and View Standard KPIs for Monitoring Sites
There are standard KPIs available out of the box. See Appendix 1: KPIs by Monitoring Site Type for the complete list of available KPIs.
By default, KPIs are not enabled for monitoring sites due to the processing power that they require. For this reason, we recommend only enabling the KPIs that you are going to use.
|
|
 PREREQUISITES:
- Select a site from the list or the map.
The site details panel opens and the selected site is highlighted on the map.

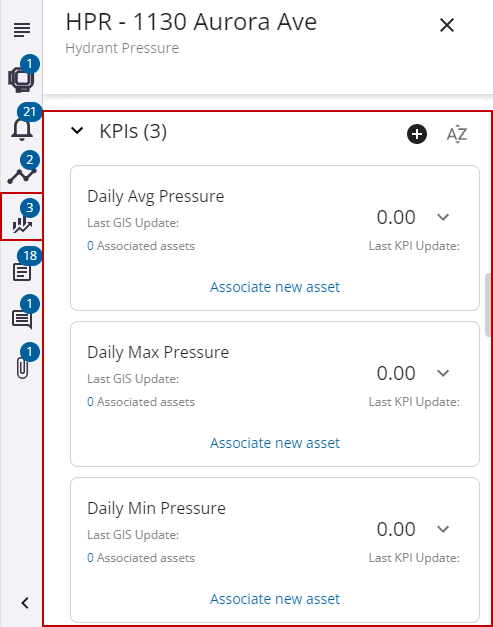
- Scroll down to the KPIs section or click the KPIs icon in the menu.
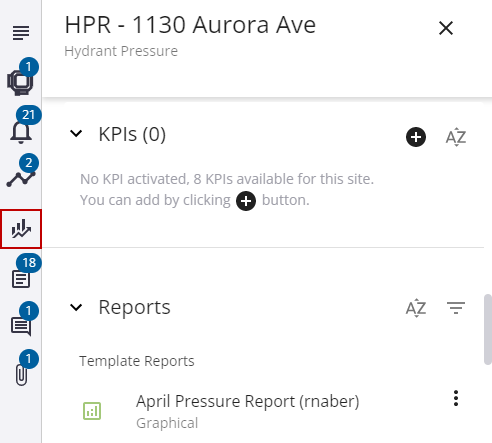
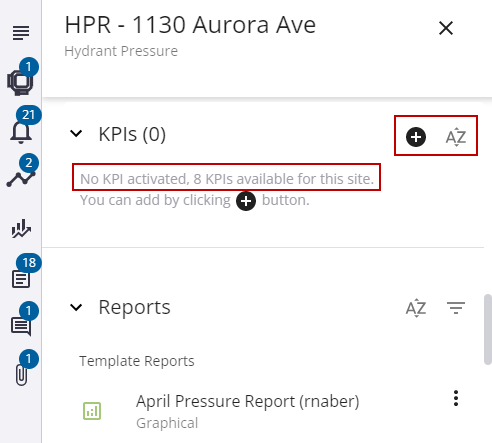
The KPIs section shows the KPIs associated with this site. By default, there aren't any KPIs associated to the site initially, but the number of available KPIs is shown. The available KPIs are based on the monitoring site type.
- Click the plus icon to add a KPI to the monitoring site.
- Select the desired KPIs from the list of KPIs available for the monitoring site type.
- Click Activate.
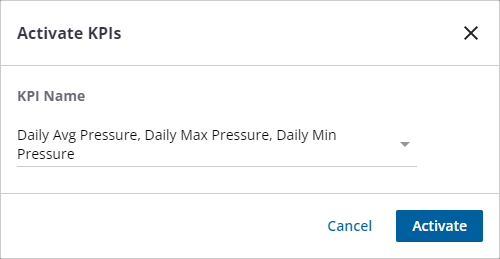
The KPIs are enabled for the site.
- Click the sort icon to sort the list of KPIs.
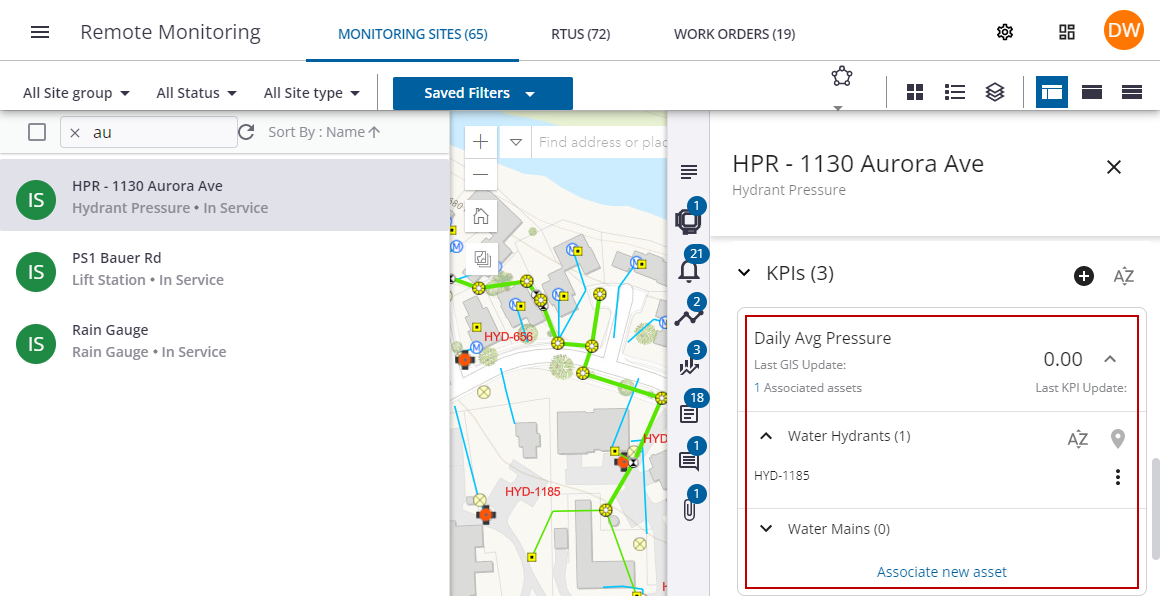
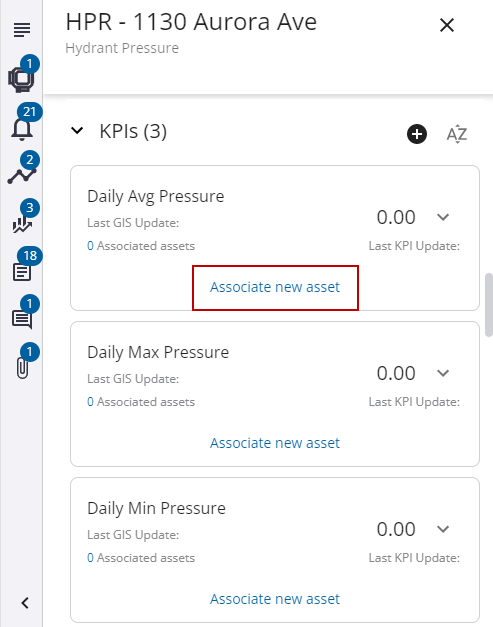
The next step is to associate an asset to the KPIs. These are the assets that will be updated with the KPI value.
- Click Associate new asset.
- Select the asset on the map by clicking directly on the asset or by selecting multiple assets using the polygon or line selection tools.
- In the list of assets on the left, select the assets that the KPI will be associated to and click Associate Asset(s) to KPI.
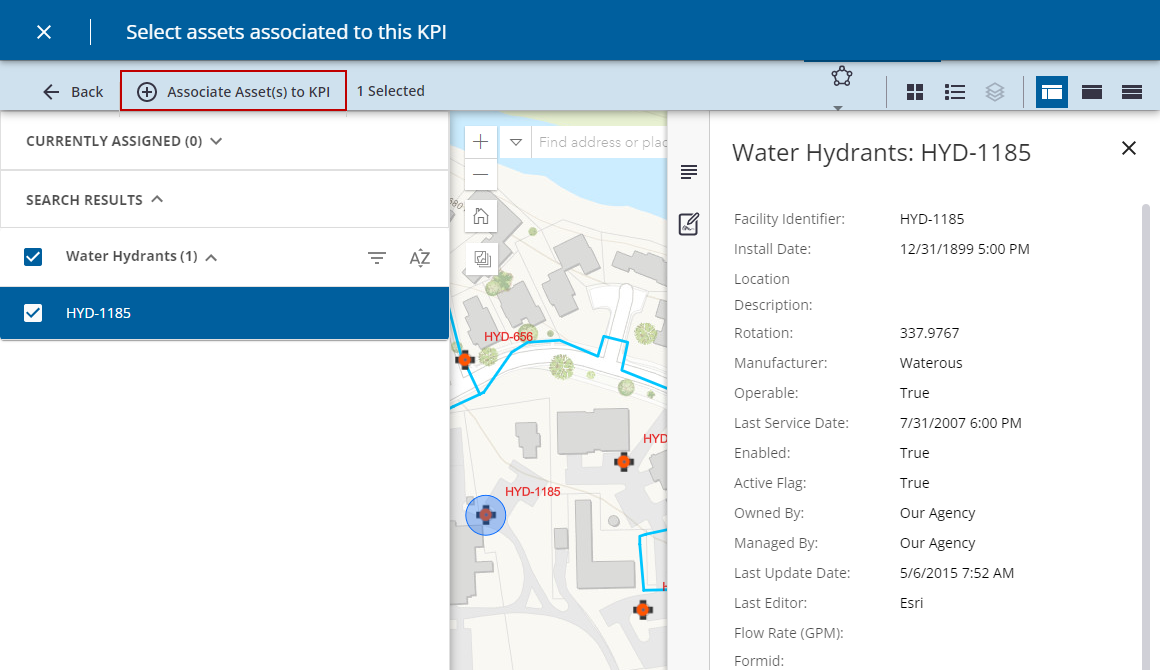
A confirmation message appears at the bottom of the page indicating that the asset was successfully associated to the KPI.
The KPI now shows the asset associated to it. The next time the KPI is updated in the GIS, the Last GIS Update field will show the date and time of the update.