Import Site Data From an FTP Server
Site data can be imported from an FTP server. When data is imported, it is treated as RAW data and is replaced during each import when any data overlaps. Each imported site can contain up to 20 measurements. Files formats that are supported include CSV, DAT, or TXT file extensions. Data can also be imported using the Trimble Unity Remote Monitoring Historian API. See Import Site Data Using the Trimble Unity Remote Monitoring Historian API for more information.
|
|
 PREREQUISITES:
 IMPORTANT: Imported sites and RTU sites cannot overlap. This means that an RTU cannot be assigned to an imported site and a site cannot be imported to an existing RTU.
- Click the Remote Monitoring Configuration icon in the upper-right corner.

- In the File Import Jobs panel, click Manage to manage existing imported sites or Create Import Job to import a site.
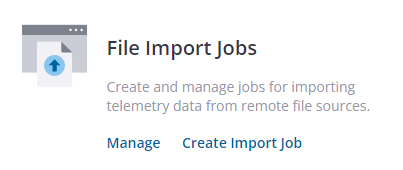
You can import a site from the app.
- Click Create Import Job on the File Import Jobs panel.
|
|
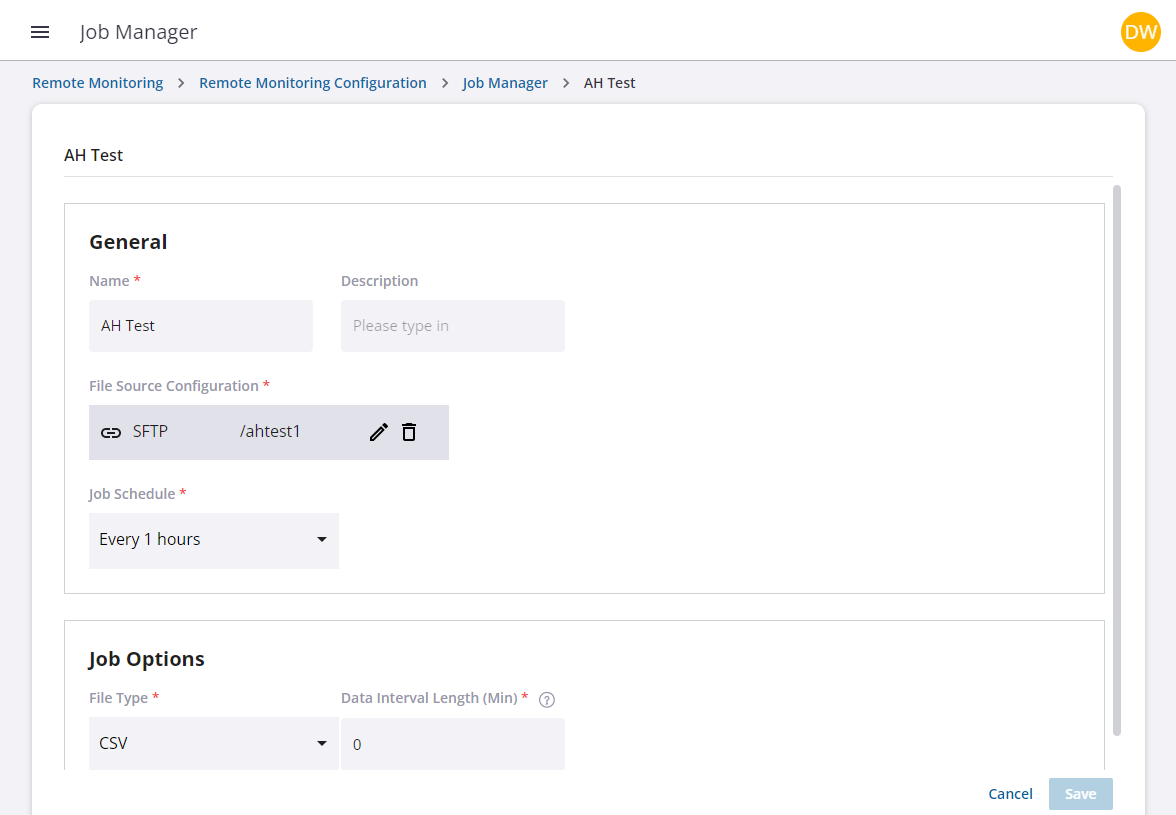
- Enter a unique Name for the import job, such as the site name from where you're importing data from.
- If desired, enter a Description.
- Click Configure.
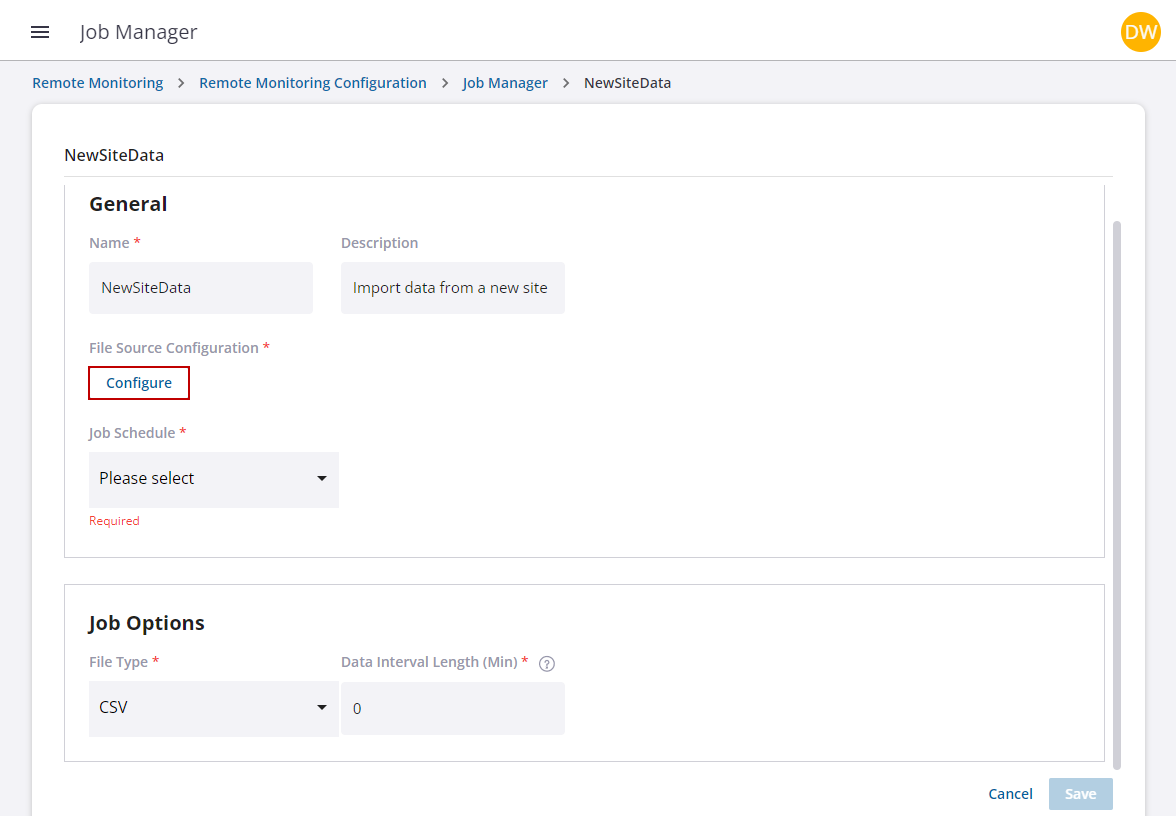
The File Source Configuration panel opens.
- Enter the Host Address. This is a URL or IP address to access the FTP server.
The Port defaults to the standard used for the selected Protocol. Only SFTP is supported at this time.
- Enter your username and password to access the FTP server.
- Enter the folder for where the files reside on the FTP server that you will be importing. Please note that all paths must start with a forward slash (/).

- Click Test. A message appears letting you know if the connection is successful or not.
- Now select how often you want the site data to sync with the FTP source, such as every hour, from the Job Schedule drop-down list.
- Select the File Type that will be imported. For example, if you select CSV, DAT, or TXT any file with that file extension will be imported; all other file types will be ignored and left on the FTP server. Select Any to import any file type, no matter the file extension, housed on the FTP server.
Only trend data, which is data that has a timestamp and a repeating interval length (such as 1 minute, 5 minutes, 15 minutes, 1 hour, 2 hours, up to 24 hours), is supported; event data, which is irregular data, is not supported. The minimum interval length is one minute with a maximum of 24 hours. The time stamp for data is expected to be in daylight standard time.
Typically CSV files are used and should be formatted in a certain way to successfully import site data.
The month and day may be switched depending on the regional time convention. Some example formats include:
- mm/dd/yyyy*
- yyyy/mm/dd
- yyyy-mm-dd
- yyyymmdd
The time format can include either 24-hour or 12-hour with AM/PM. A space must separate the date and time.
- hh:mm
- hh:mm:ss
- h:mm AM/PM
- h:mm:ss AM/PM
|
|
 EXAMPLE
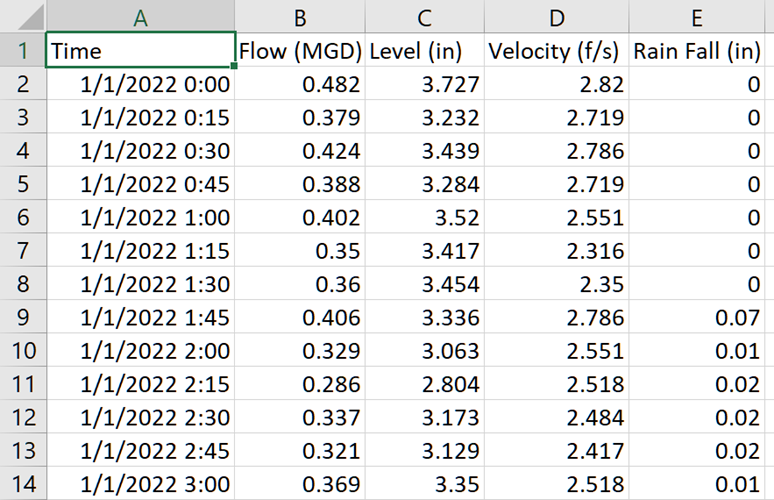
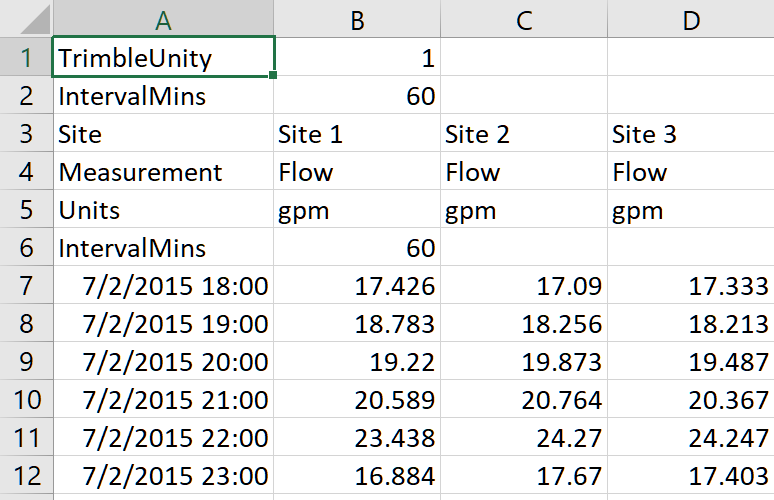
It is assumed that data starts when a valid time stamp is found in column 1. Do not place a time stamp in the first column before data starts, instead make sure to follow the example formats in the previous example.
- Specify the Data Interval Length, if needed.
 BEST PRACTICE: If you know the interval value in the file(s) being imported, enter it in the Data Interval Length field. If you don't know the interval value in the file(s) being imported, enter 0.
- Click Save.
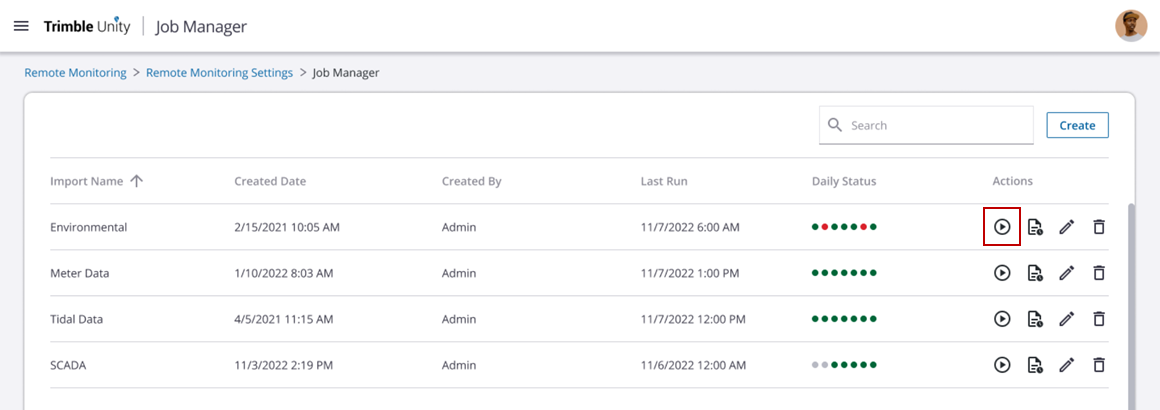
- Click Run job on demand to start importing site data, or allow the job to run as scheduled.
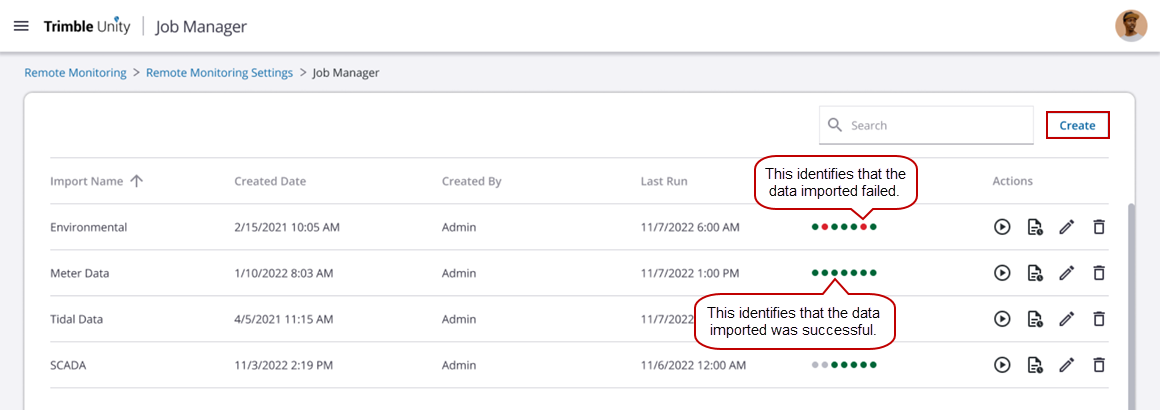
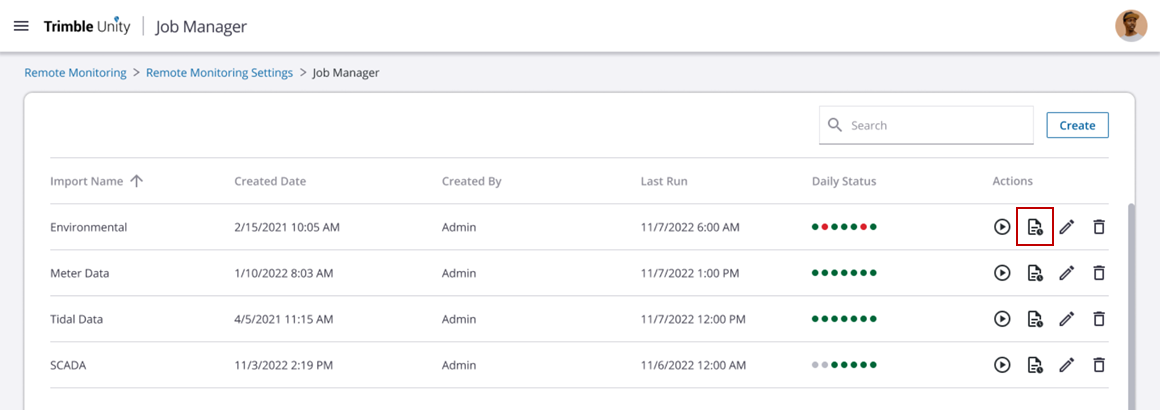
- Once a job has started or has completed running, click View Job History to view the files that have passed or failed during the import.
- Click Delete to remove the import job.
 NOTE: Imported sites cannot be marked out of service, but must be deleted in order to free up the subscription. See View Subscriptions for more information.
Each day the import is run, the Status column on the Job Manager page populates with a green or red circle. A green circle identifies when all files have successfully been imported. A red circle identifies when a file or files have failed to import during the process. When the import fails for any reason, the files are not removed from the FTP server. However the file(s) may continue to be logged as failed imports until they are removed by the user.
Once a site is imported, there are a few things that need to be completed.
- There are no coordinates available for an imported site and therefore need to be assigned.
- Measurement units will automatically populate if the imported data contains that information, but the measurement Type is assigned automatically assigned Unknown and needs to be manually assigned.
You can manage existing imported sites from the app.
-
Click Manage on the File Import Jobs panel.
- From the list of imported sites, click Edit.
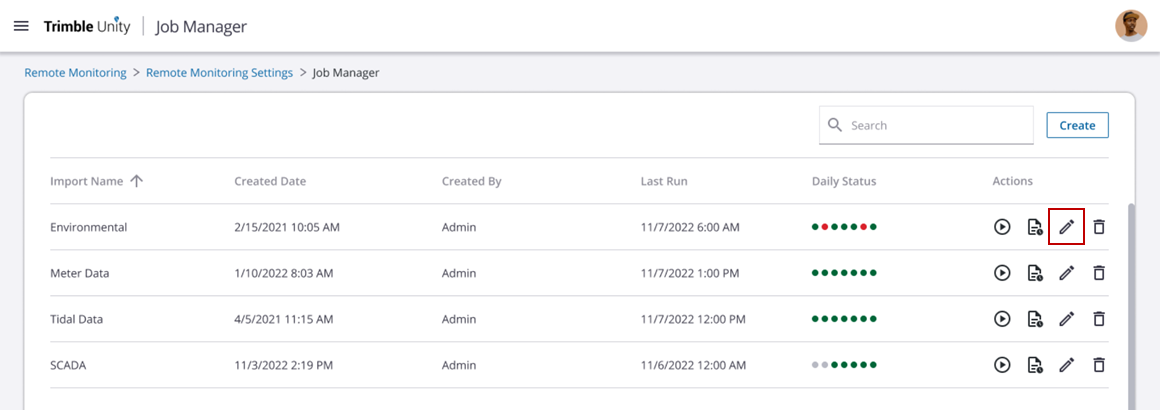
- Make updates to the import information. Click the edit icon to update the existing File Source Configuration or click the delete icon to remove the existing configuration and create a new configuration.
- Click Save.
- Click Run job on demand to start importing site data, or allow the job to run as scheduled.
- Once a job has started or has completed running, click View Job History to view the files that have passed or failed during the import.
- Click Delete to remove the import job.
NOTE: Imported sites cannot be marked out of service, but must be deleted in order to free up the subscription. See View Subscriptions for more information.
Each day the import is run, the Status column on the Job Manager page populates with a green or red circle. A green circle identifies when all files have successfully been imported. A red circle identifies when a file or files have failed to import during the process. When the import fails for any reason, the files are not removed from the FTP server. However the file(s) may continue to be logged as failed imports until they are removed by the user.
Once a site is imported, there are a few things that need to be completed.
- There are no coordinates available for an imported site and therefore need to be assigned.
- Measurement units will automatically populate if the imported data contains that information, but the measurement Type is assigned automatically assigned Unknown and needs to be manually assigned.