How to create a work order on the device
-
From the
 and then tap
  . The New Work Order screen appears:
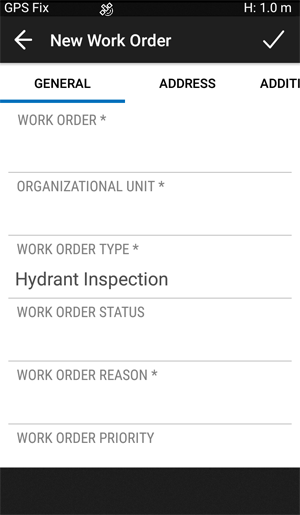
- Complete the key work order details. Compulsory fields are marked with an *.
- Capture the location of the work order:
Select the Address tab and scroll down to the Geometry field:
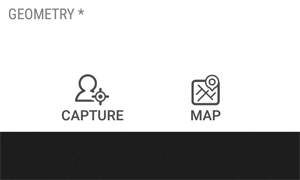
- Tap either Capture (to capture the current GPS position) or Map (to take a digitized location from the map when GPS is not available):
If you tap Map, the map opens and a blue flashing icon appears on the map to show the location:

- Tap
 .
.
-
If you need to associate assets to the work order:
- Select the ASSOCIATED ASSETS tab, and then tap
 to load the map.
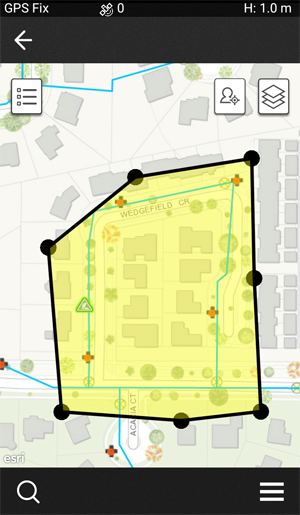
 -
Tap on the map around the assets that you want to capture:
Tip – To undo changes when you are drawing a boundary. tap
 .
. -
Tap Search
 to view a list of assets in that selected area:
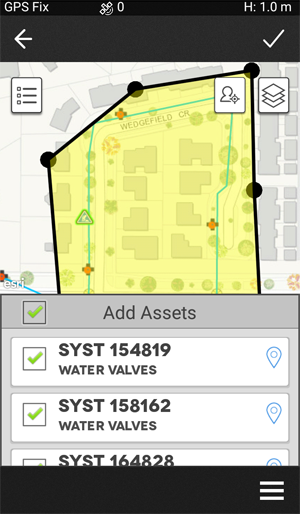
- Deselect any assets you do no want to add and then tap Save
 to add the selected assets to the work order.
Note – Currently on Windows Mobile, multiple assets cannot be added.
- Select the ASSOCIATED ASSETS tab, and then tap
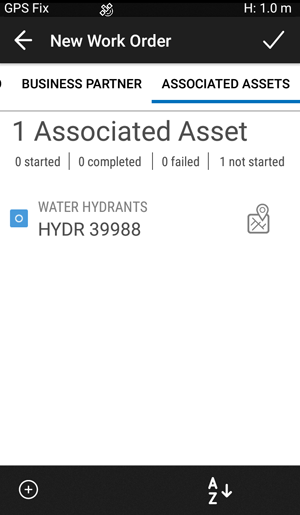
-
You are returned to the New Work Order screen showing the assets:
- Tap Save to create the work order. The new work order appears in the Work Order list.